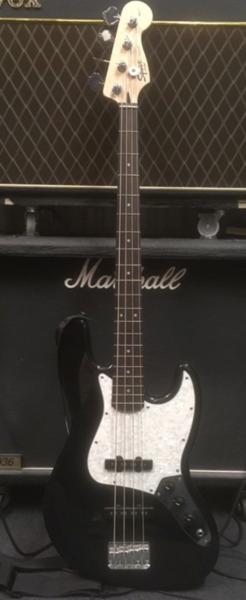
( Diary of ) Repairs


Warning! Some Electronics devices contain lethal voltages that can kill you.
If you do not feel qualified to work with dangerous voltages, refer your
repairs to a qualified technician. By giving you online advice, I am assuming
no liability for any injury or damages you might incur through your own
actions.
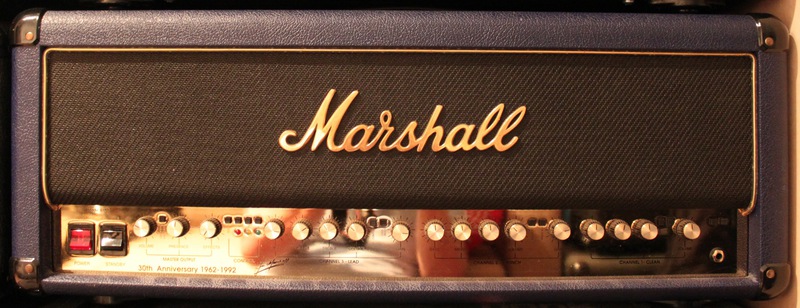
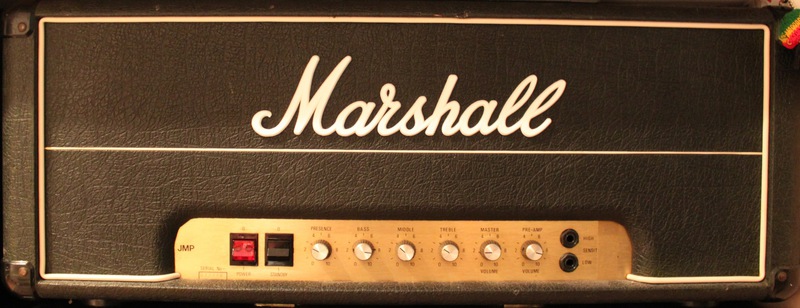
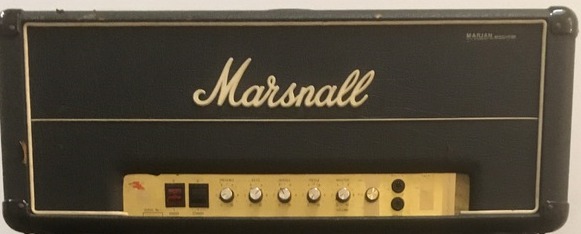
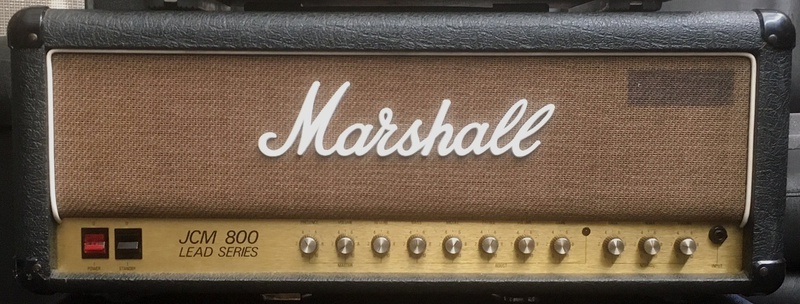
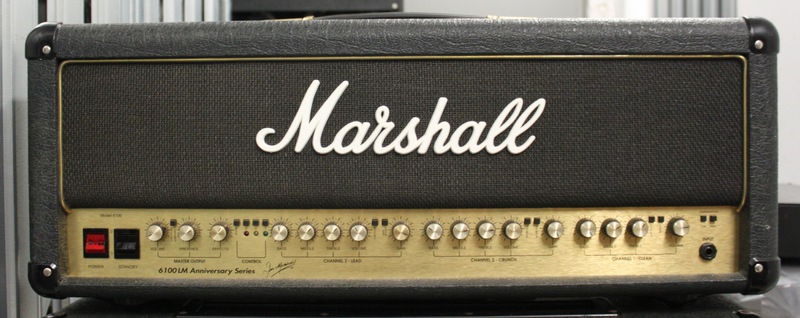
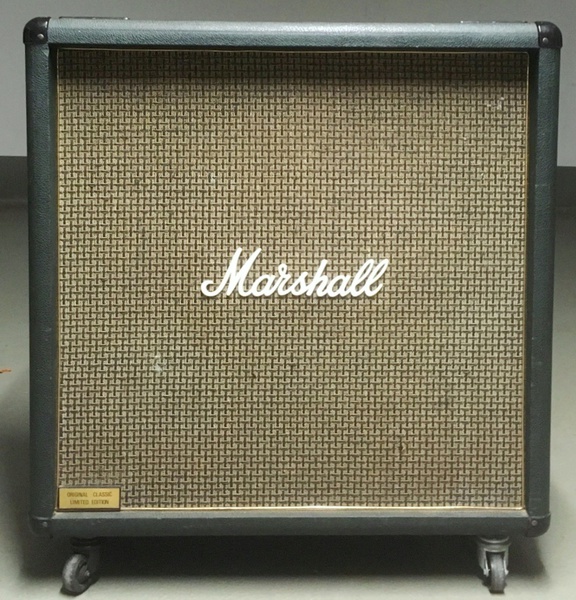
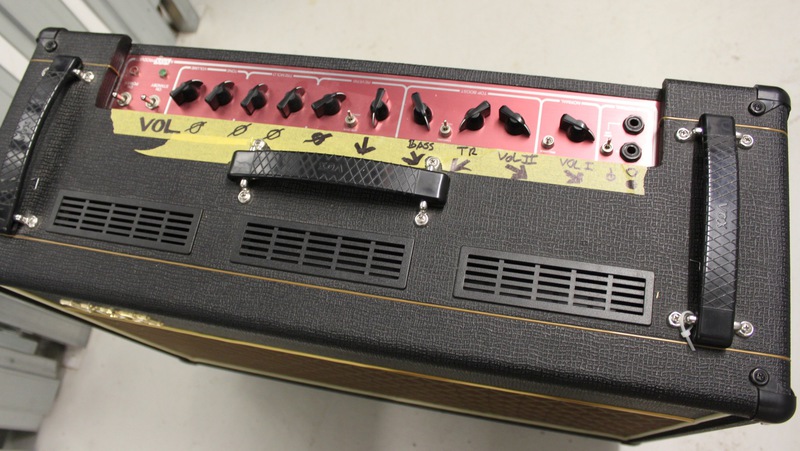
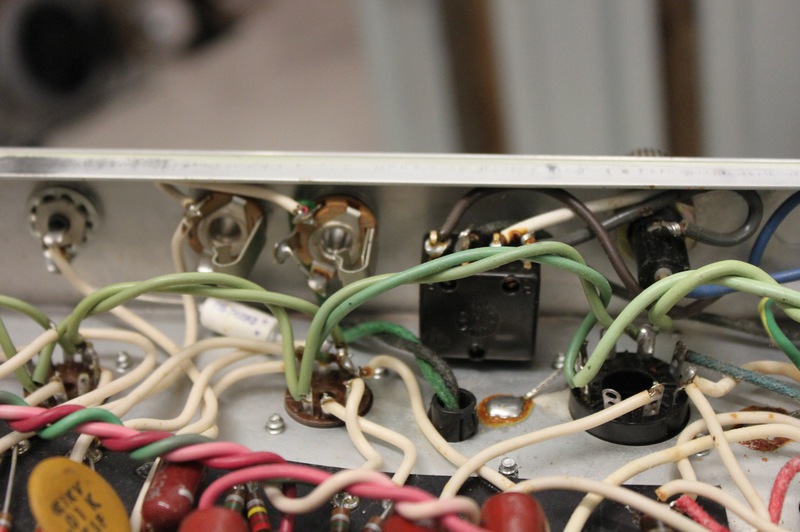
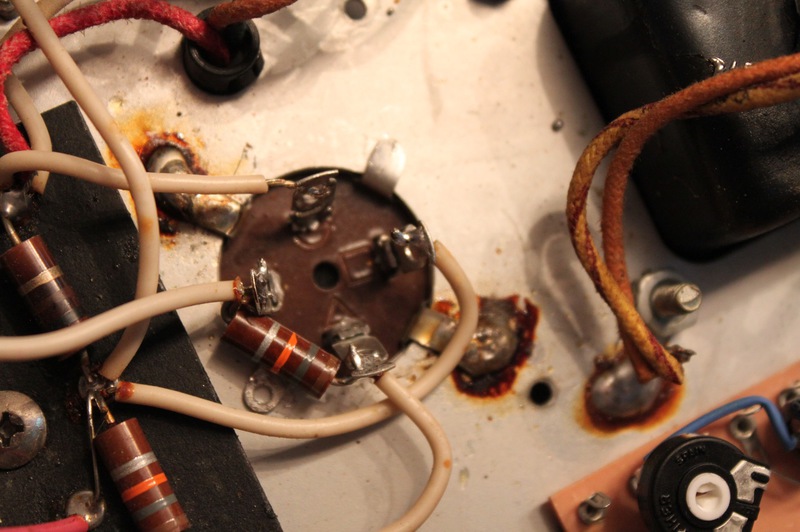
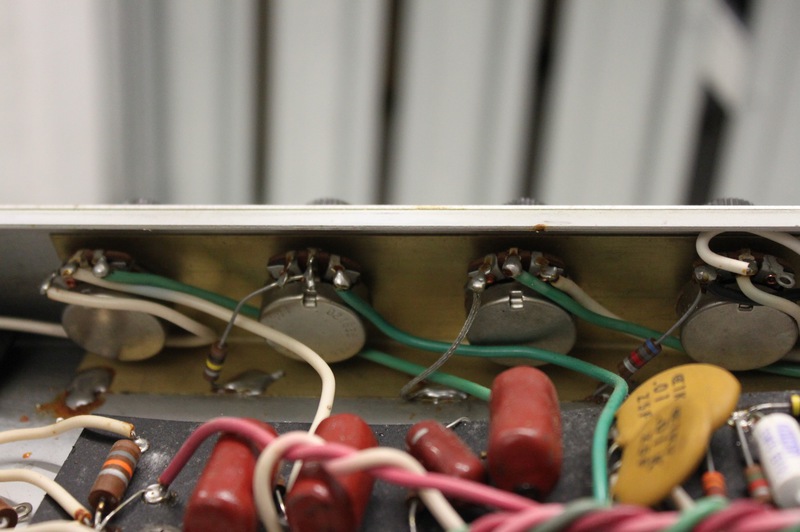
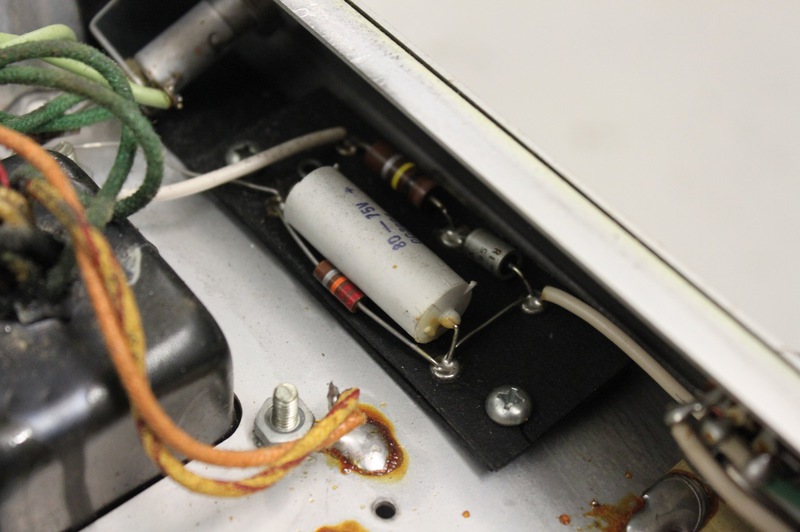
After several Marshall JCM 800s 2203-2204 / JMPs repairs, the basic checks ( parts to replace )
mostly were:
- old power tube sockets
- Plate load Resistors ( JMP master Lead !! )
- old/bad Filter Caps ( incl. Bias Caps )
- or yes, old tubes or input-output jacks
In rare cases, when the H.T. fuse blow, it´s mostly a bad power tube or a OT fail.
In general i moved away from the illusion to own a stock 1970 collectors Amp. Other
than guitars which are basicaly "wood" and if they are stored in a not too wet or dry
place nothing will happen to them, amps with high voltages and 40 year old parts
just give up at one point. The discussion about changing parts and therefore influence
the character is another story. I normaly replace Fflter Caps with F&T and i normaly
use ( i tried NOS Siemens, Telefunken etc ) simple JJ EL34s as power tubes.
The OT i once replaced was with Hammond and it worked and sounded great.
I owned 3 stock JCM 800 2204s and every single one sounded slightly different, one did
like pedals, the other one not.... so the right sound is a very long search.......
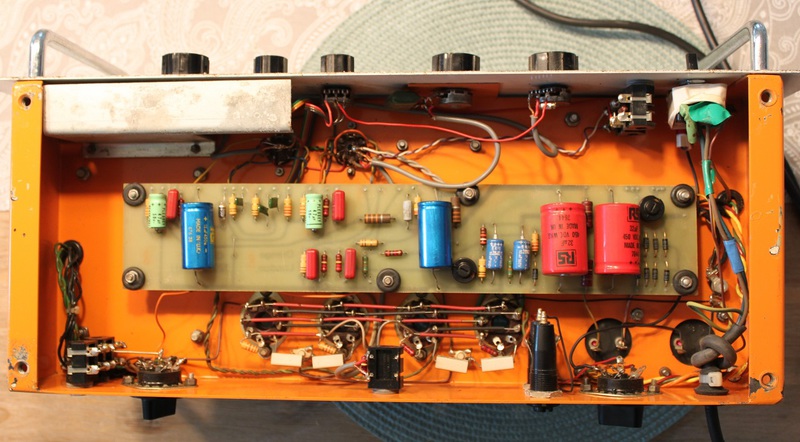
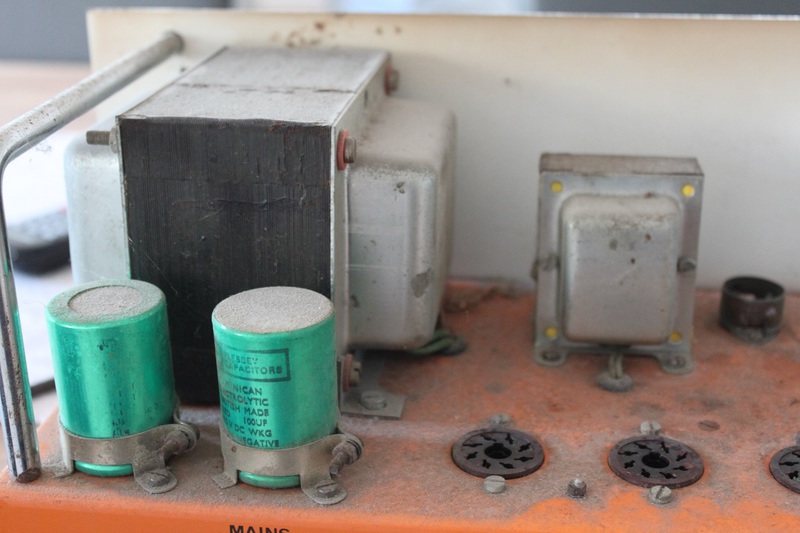
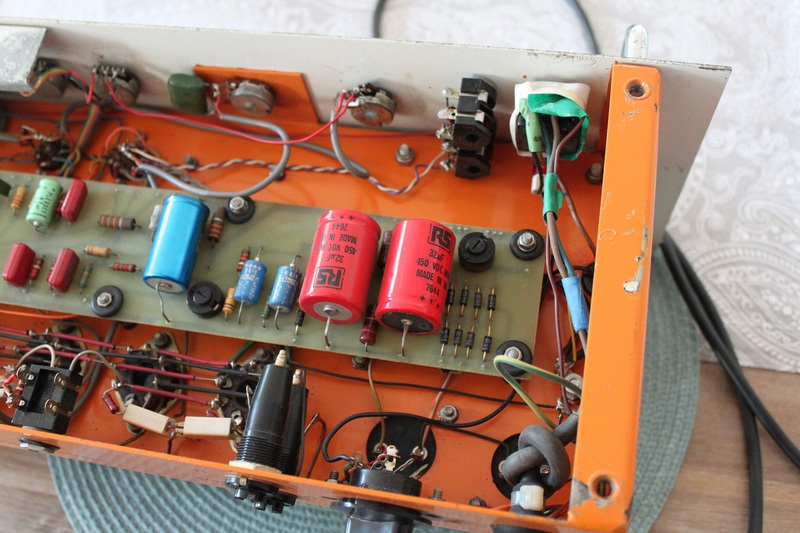
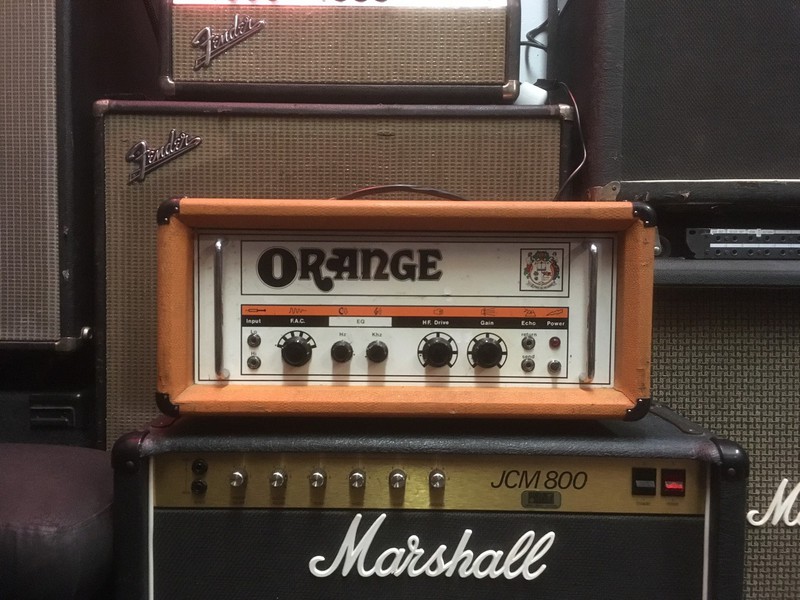
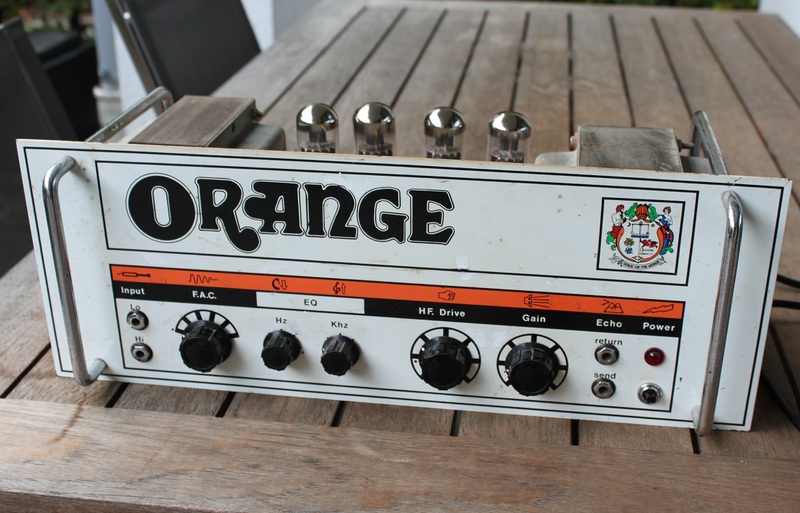
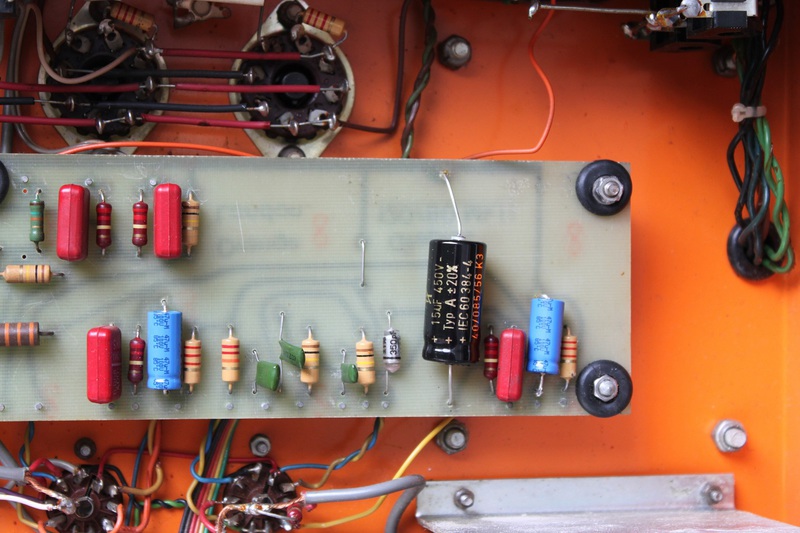
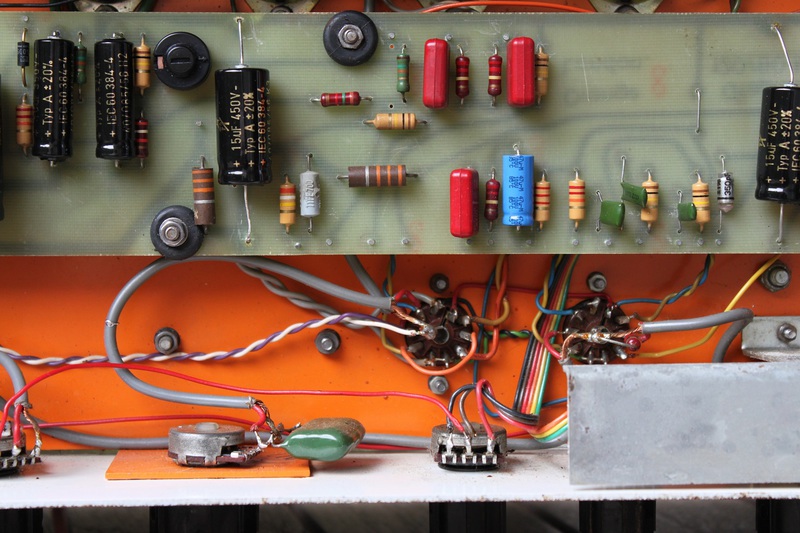
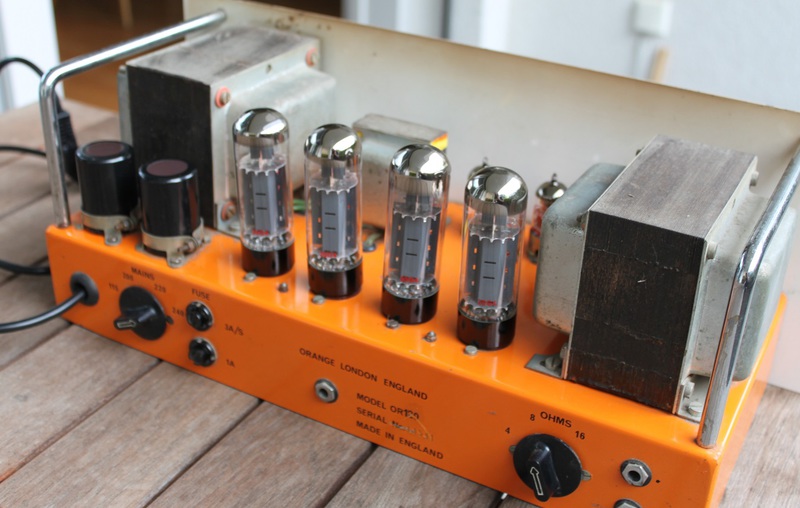
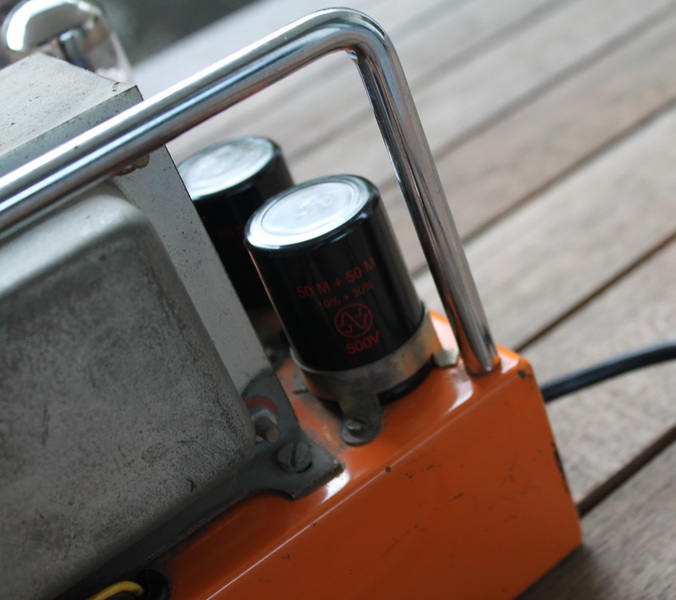
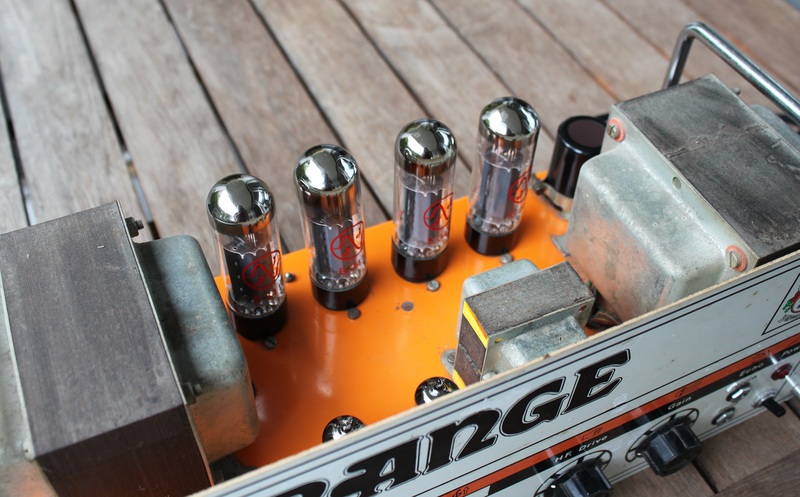
Orange OR120 from 1976
Cloudy evening, end of August 2019, and a great chance to get a Orange OR1976 with just a 400km drive :-)
However, wanted a Orange for a long time and took the chance to get this piece. It was like most of the stuff i get, lying around for 20 years, unused and ready to get a full refurb.
There wa snot much to do actually.... A full Cap job, new rubber feet, a new corner, a lot of cleaning and a set of new tubes.... I biased it to 33ma which seems to be a good middle between too hot and average :-) Oh yeah i read a lot about it, and yes it´s damn loud...
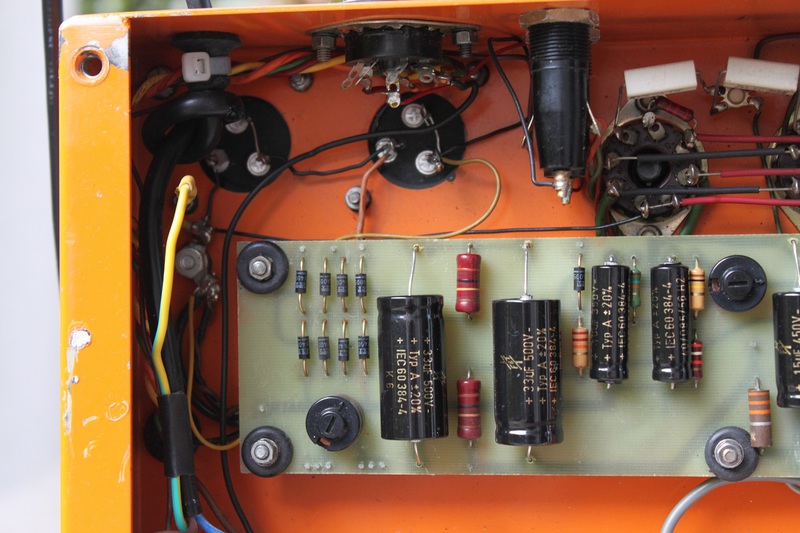
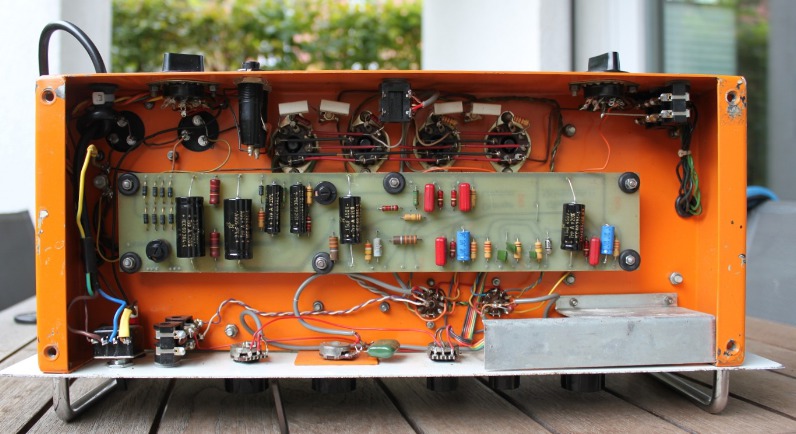
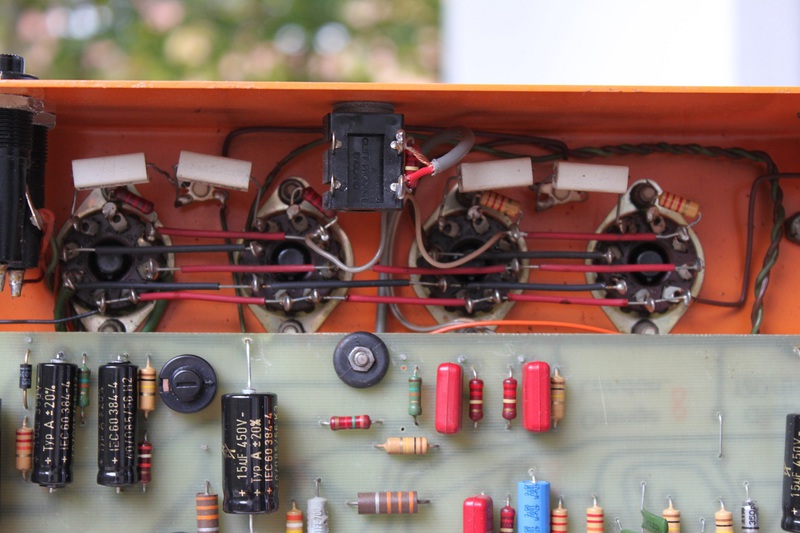
For all the gutshot fans... here some before and after pics.... enjoy..
Before:
After:

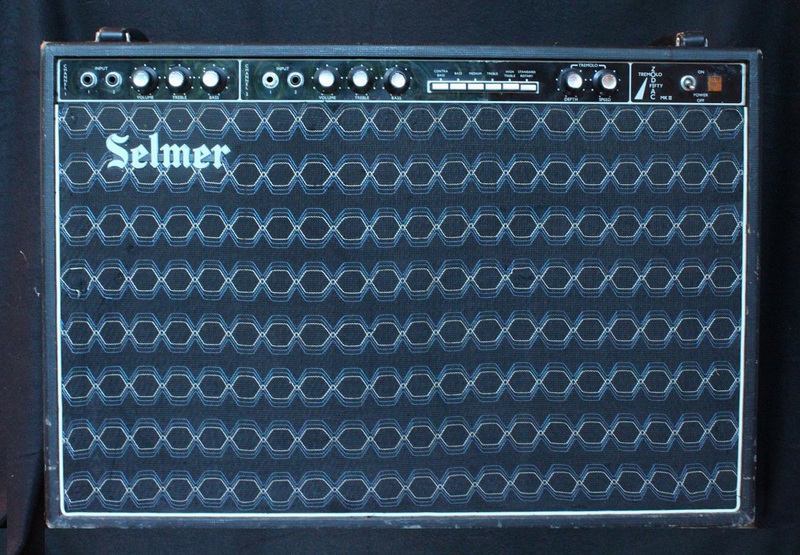
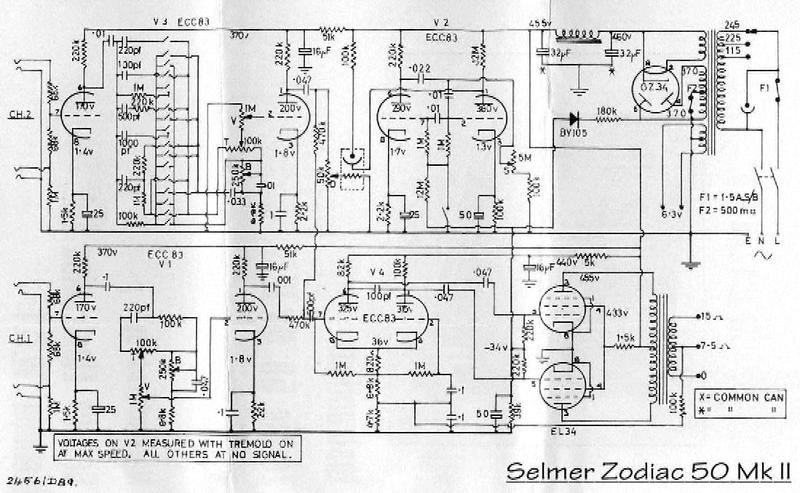
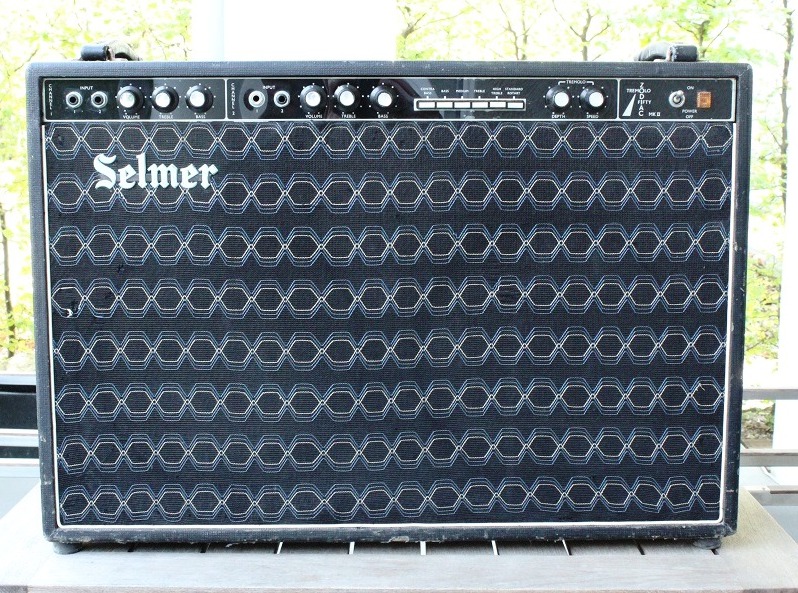
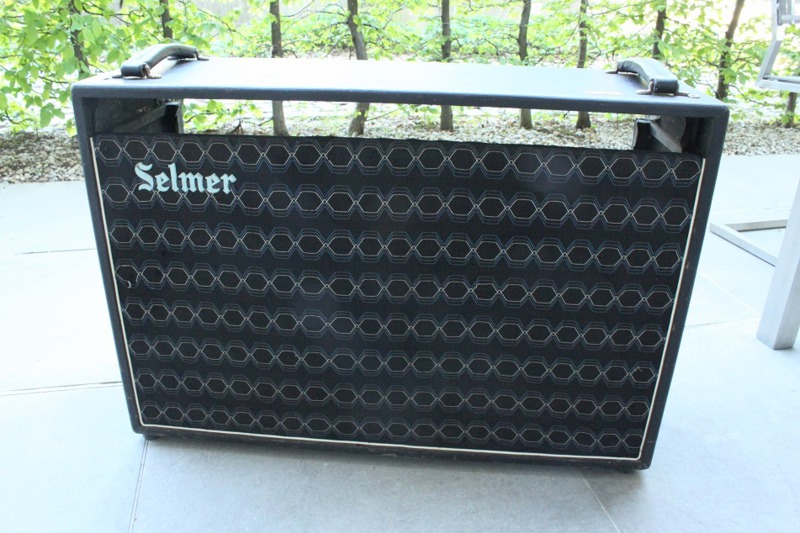
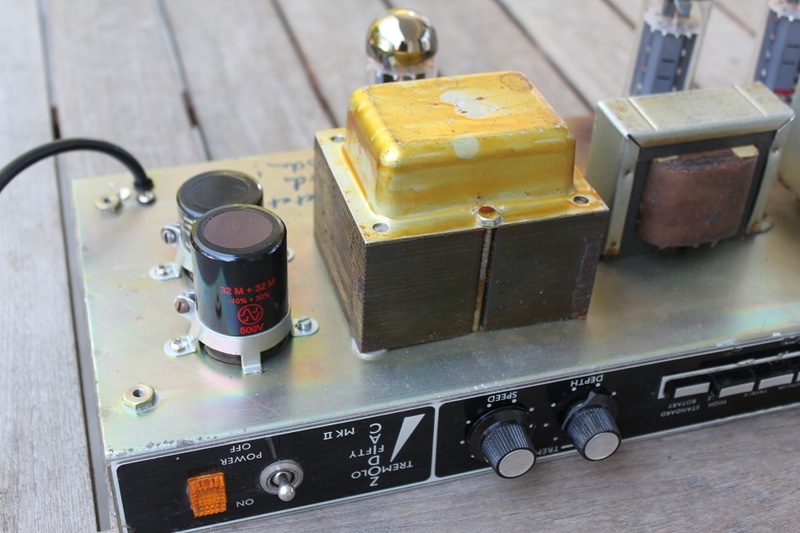
SELMER Zodiac 50 MKII from 1966
 Selmer Zodiac 50 MKII
It is spring, and in spring people clean up their attics and sometimes find really nice things. Here someone found a really nice Selmer Zodiac 50 MKII, unused for the last 30 years, but according to the previous owner it was his first amp and it always worked.
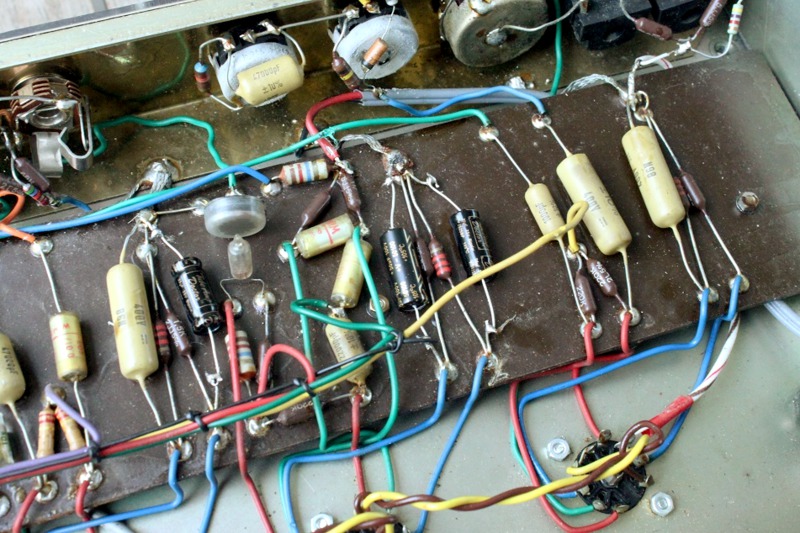
Since i once experienced a set of exploding filter caps, after they dried out for 20 years i tend to chance critical parts before i first fire up the amp. At first glance it is in a remarkably good condition for its age. Things i spotted after i took it apart were:
- External output jack was added for the internal speakers
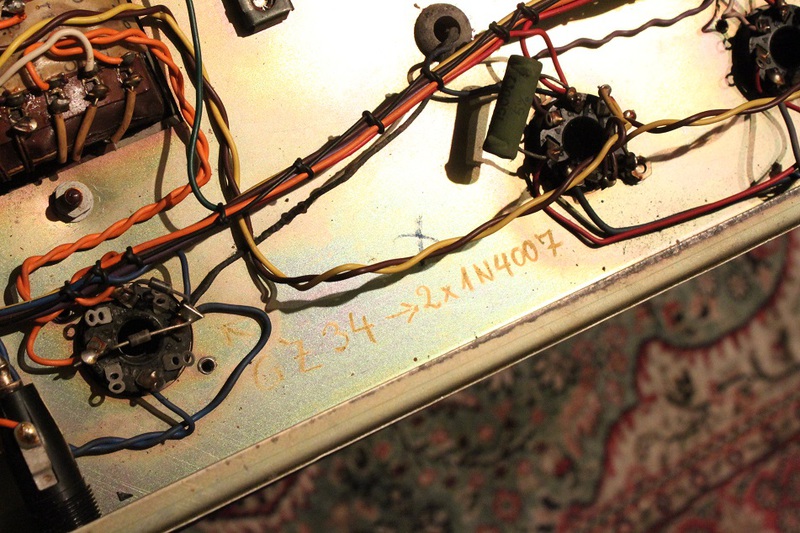
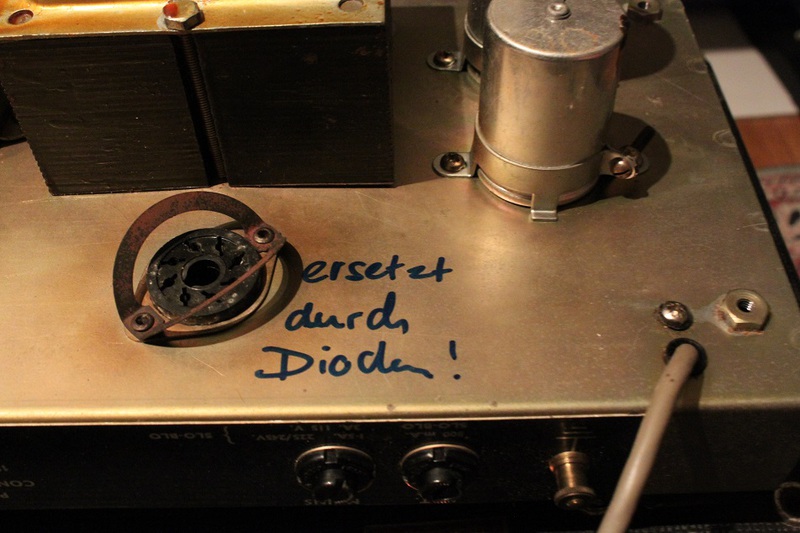
-The GZ34 rectifier tube was replaced by diodes
-The grille cloth was loose and they layer below the "diamant" one was teared
-The FUSES were WRONG > ONE WAS A PIECE OF METAL !!
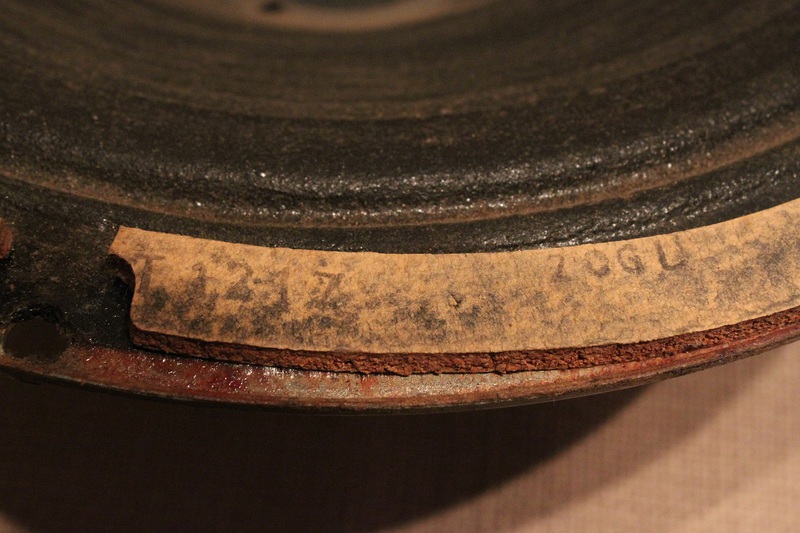
-The 2 Celestion G12H from 1966 look ok but after taking them out of the chassis one was a bit torn. Both still working though so i will leave them in and maybe recone them later.
But apart from these rather small issues it was ok......
What i´m goin to do now:
- Remove the diodes and fit in a GZ34 again
- Remove the grille cloth and put in a new black layer below the diamond one for stability ( I love pulling staples !! NOT !! )
- Correct fuses
- New Powercord since the old one was a bit beaten up
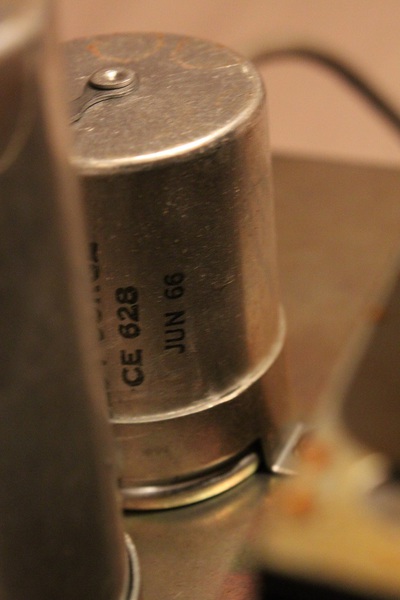
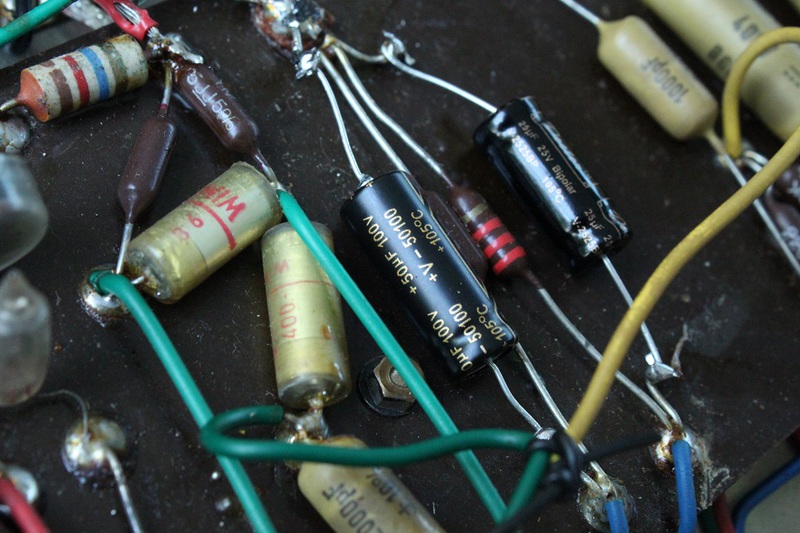
- All Electrolytic caps new ( not many in there but one 3x16uf special one -- very tricky to get )
- One new pot
- Add a jack for the tremolo switch ( the switch was hardwired, very unusable since you hardly need the tremolo )
- Add a pot for adjustable bias
All that has been done and the amp is working great now. It had some crackling noise at the start but cleaning the tube sockets again did solve that. It has a very light 60hz hum after is it fully heated up, but i guess ist some sort of the transformer getting hot and moving a bit more hum. Otherwise it sounds great and the tremolo is very nice too. Soundwise it´s not super bright like a Fender, it rather goes into the british Marshall direction. It takes dirt pedals very well.
Before Pics:

After Pics:


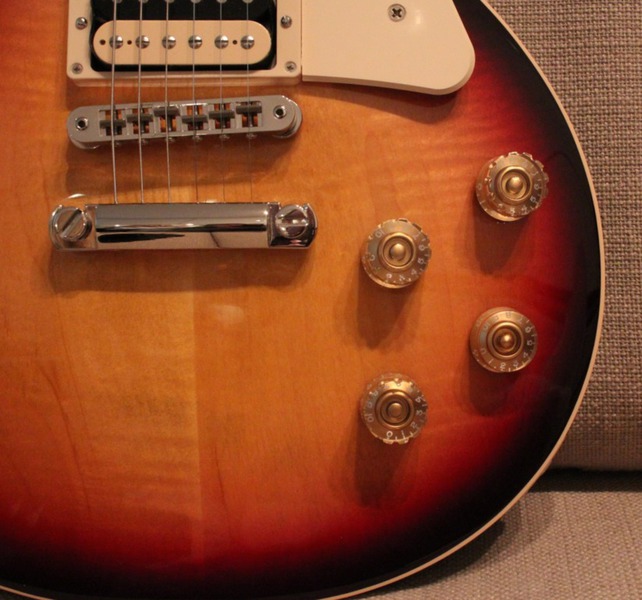
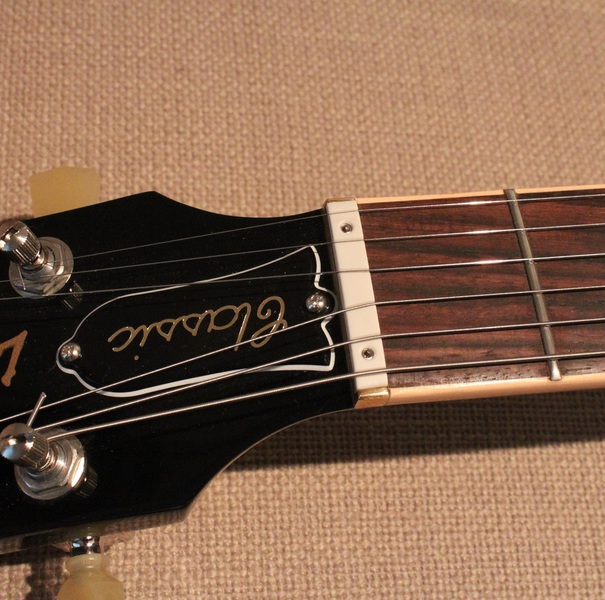
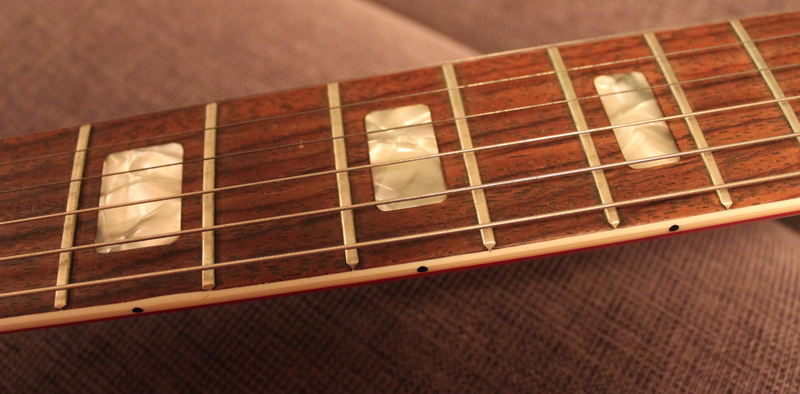
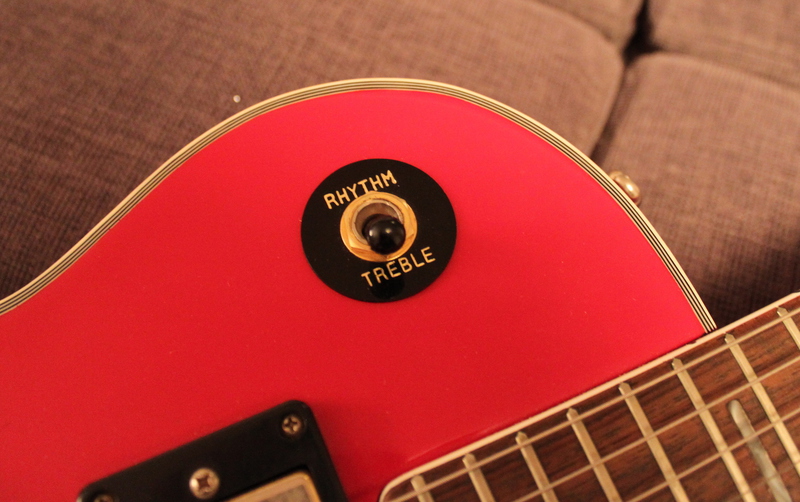
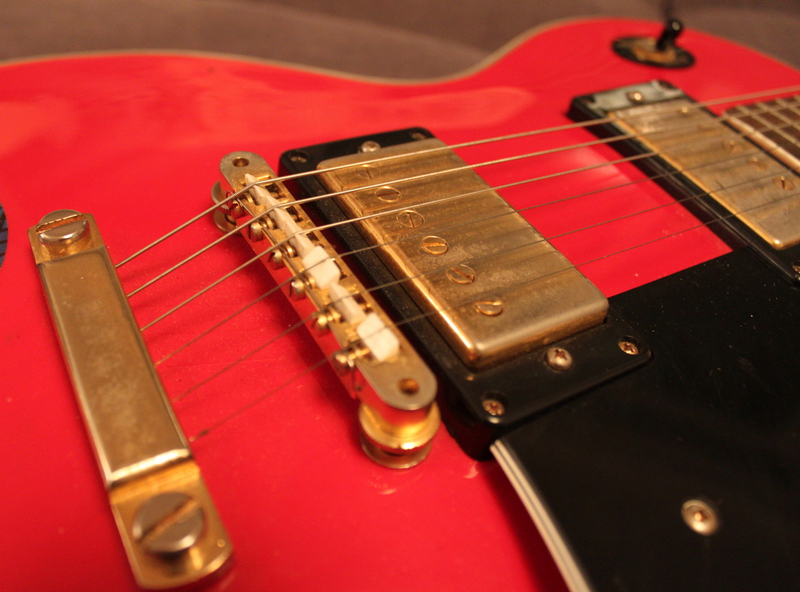
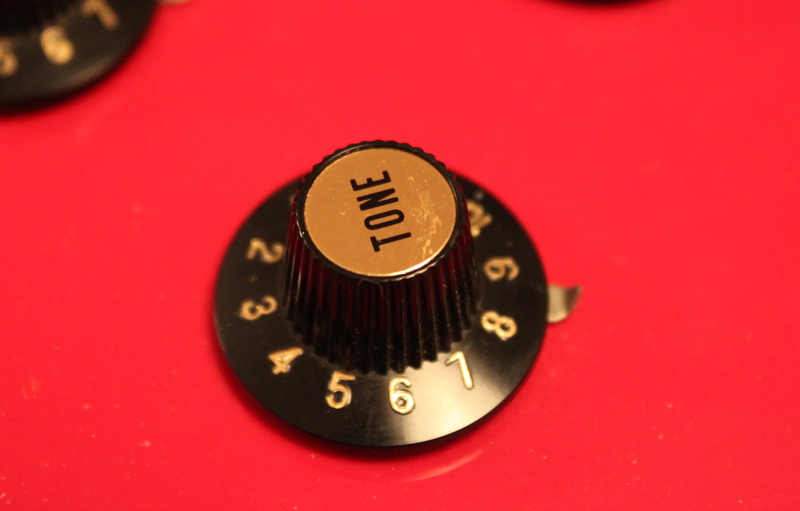
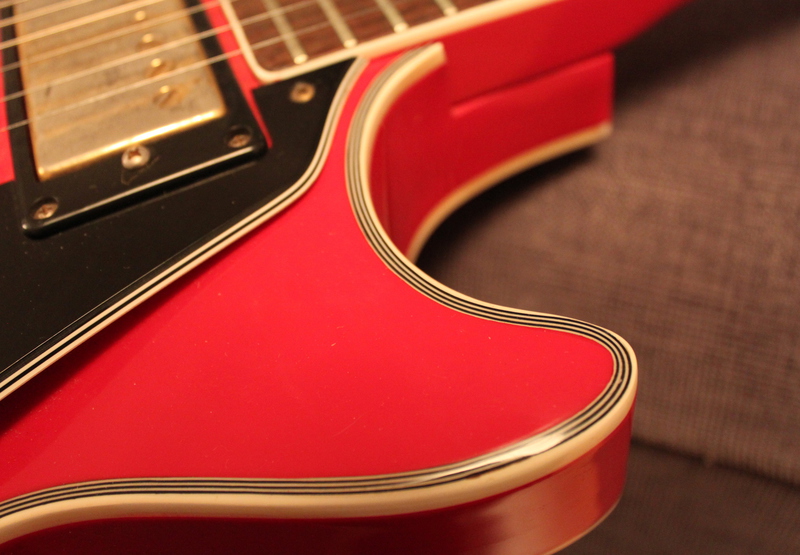
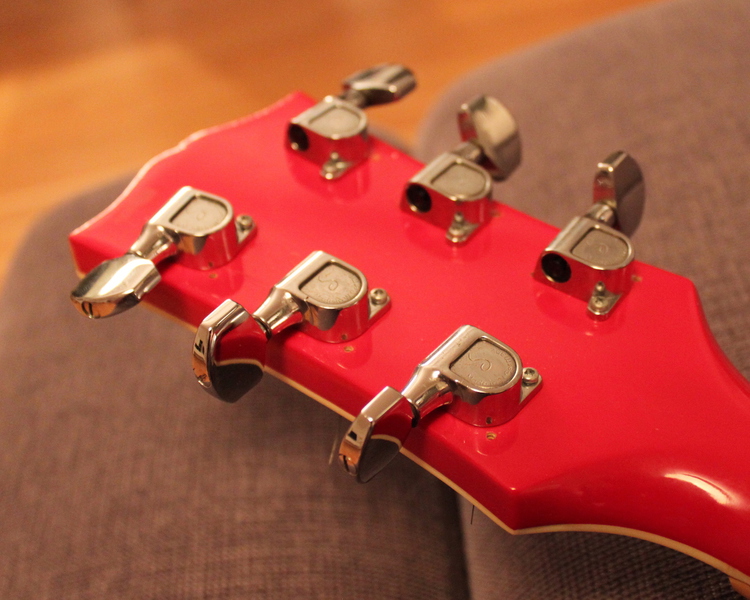
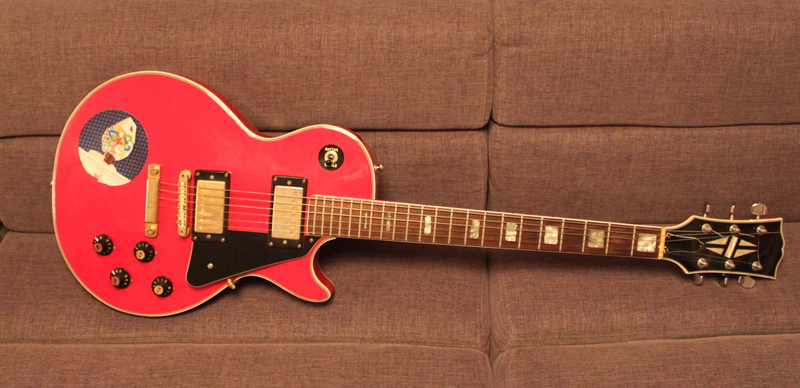
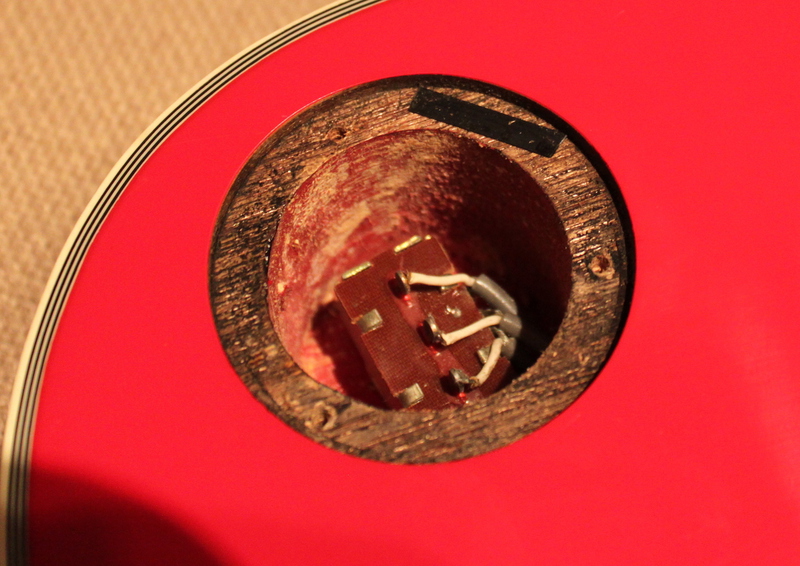
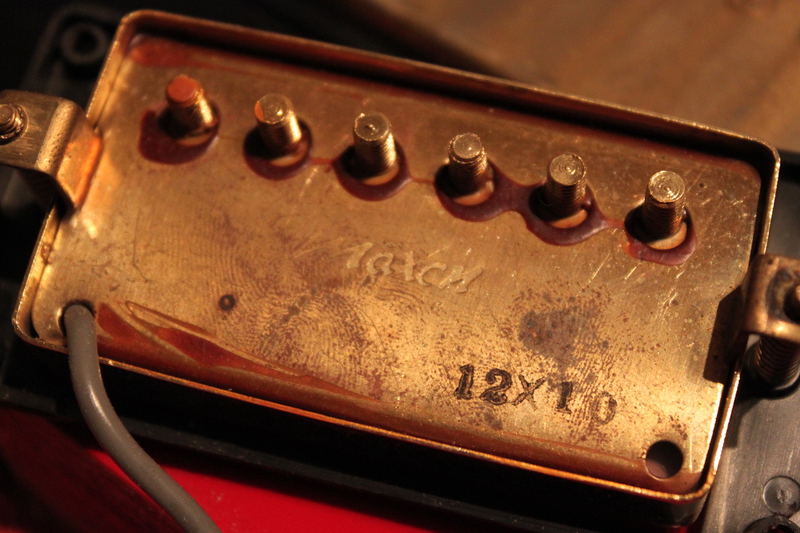
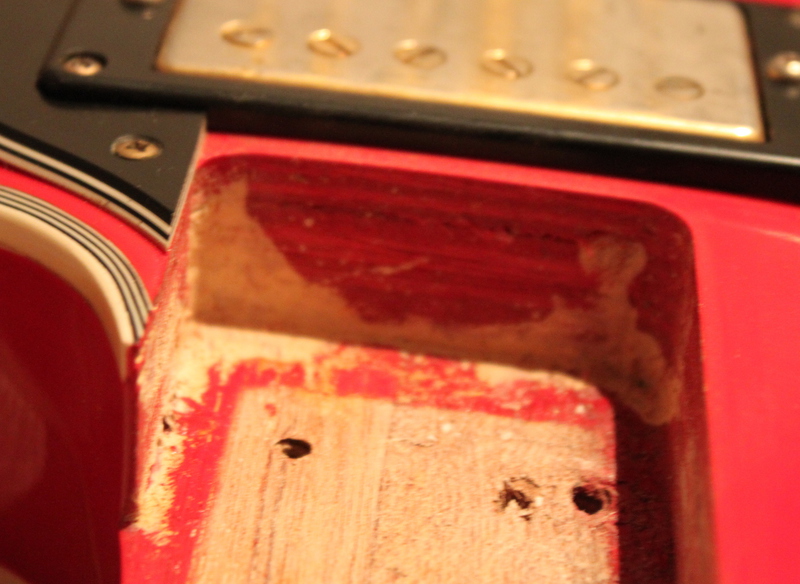
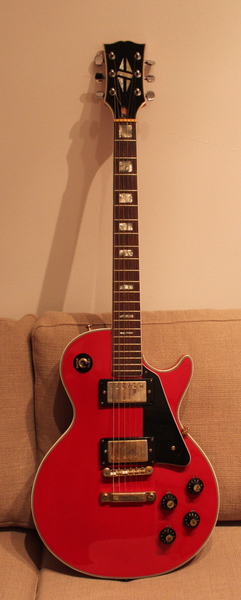
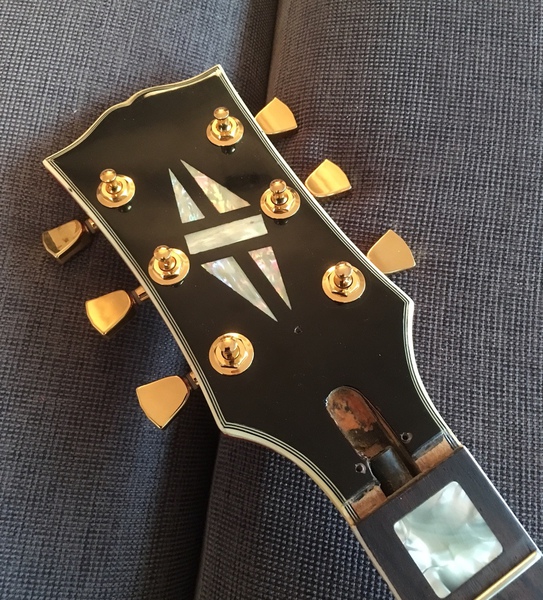
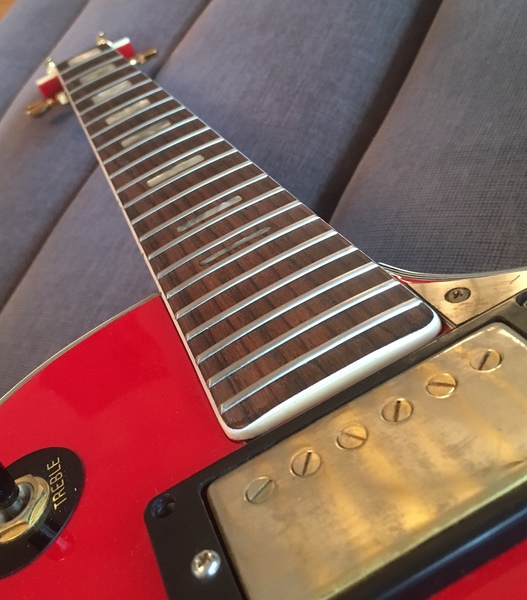
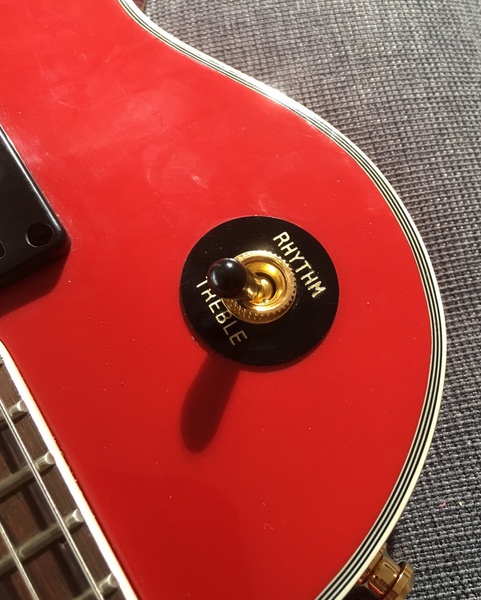
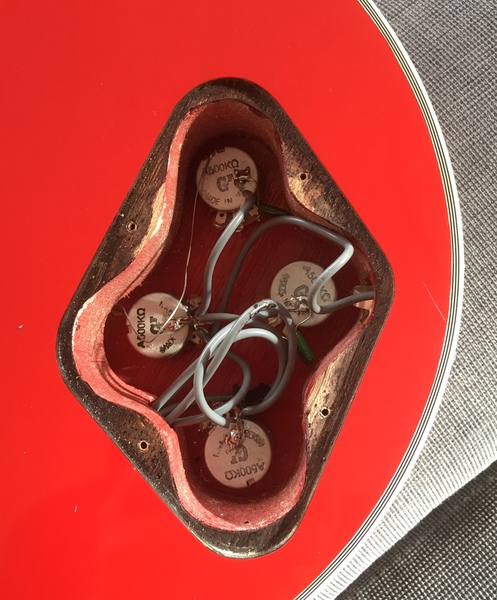
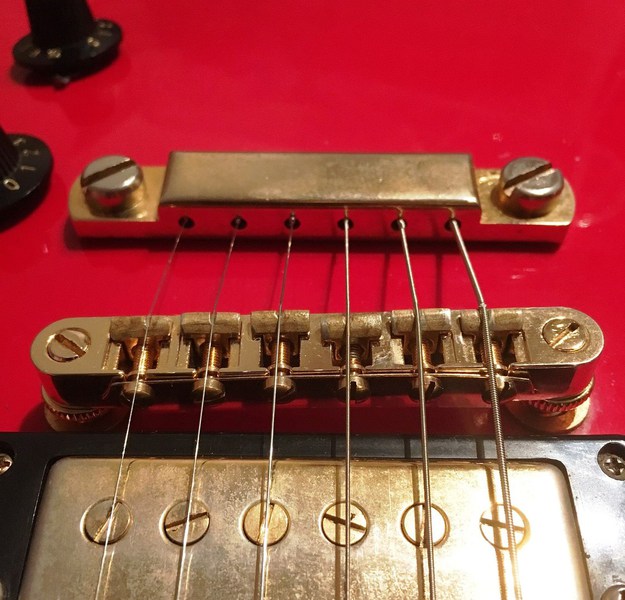
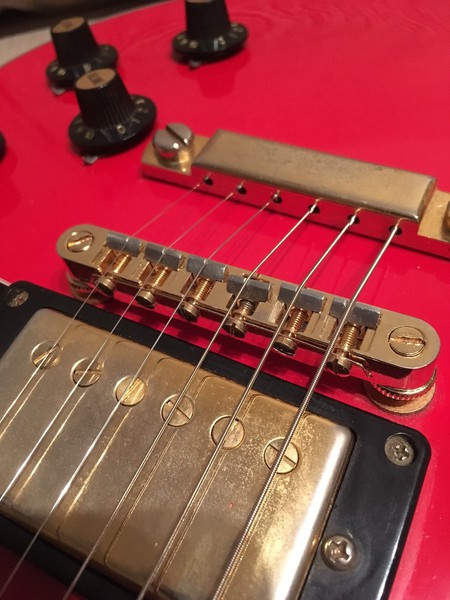
GIBSON Les Paul CLassic Fireburst 2015 ( MOD )
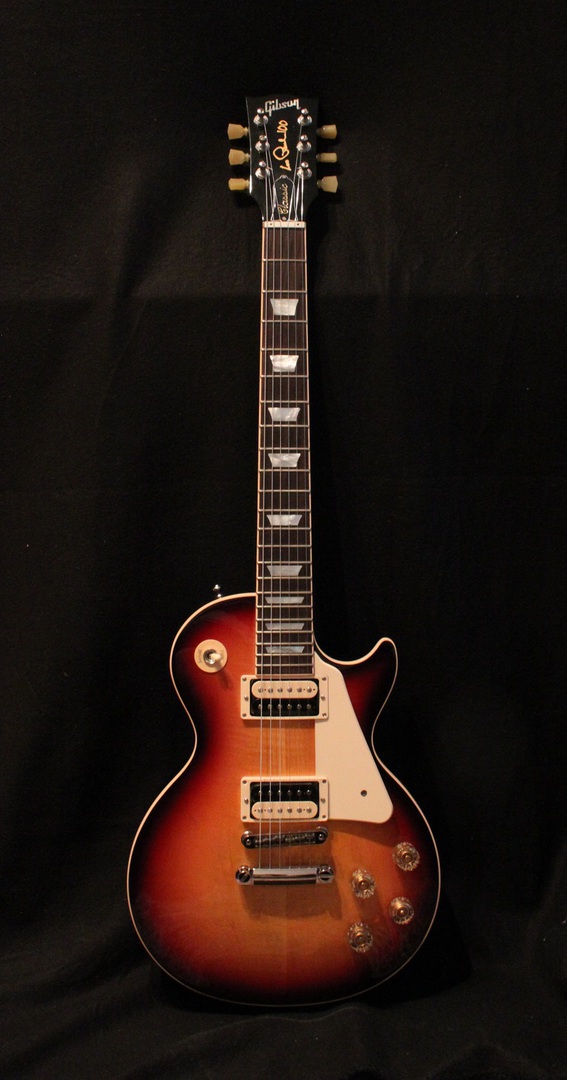 Gibson Laus Paul Classic 2015
OK, before i start i just wanna make clear, that i´m not one of these guys, ( even i collect mostly vintage stuff and i love the vibe of gear which has played since a long time already ) who are fully against every modern technical invention.
So with that mood i found a Gibson Classic Les Paul just around the corner for a >> i would say very cheap price <<. First i really did like the Fireburst on the picture, and i like the slim taper 60´s neck on most of the Les Pauls i own. Also that the body has more chambers than usual is for me rather a pro than a con.
After i inspected the guitar at home my first impression was surprisingly good, given the price they sold the guitar at the end of 2015.
The following view has to be seen from the persepective, that this is not a historic reissue, nor a 65 vintage model, and also it isn´t a 90s Standard where you have a specific expectation what you should get. The only problem of the 2015 series is from the marketing side, basically the wrong product, wrong marketed at the wrong time. Apart from that its a great guitar.
Here are some thoughts on the features:
NECK: The wider neck felt different at the beginnig, due to its wider shape a bit flatter. But i got used to it very fast. Fretwork was good, Pleck adjustements worked well, i can create a very low action
GIBSON G-FORCE SYSTEM: Ok, that was really uncommon and i had big doubts at the beginning. Also it didn´t look too stylish from the view above. BUT i do play a lot on sessions and otherwise in the Studio. So what you do when you arrive at a session TUNING, and when the guitar adjust to the climate, TUNING, and when it gets hot, TUNING and when you arrive at home, TUNING. The same counts for studio work, once you record a track you´re basically in a long term tuning mode, and therefore i think it is is a nice feature which you can get yourself used to.
NUT: OK even if i had many old german gutars with zero nut on the bench here i´m not a massive fan of the brass zero nut on this one, its worn out a bit already, and so i called Gibson for the Titanium replacement which was no problem at all. I also ordered a TUSQ replacement nut which probably will stay there forever. The hight change possibility is apart from that a great feature.
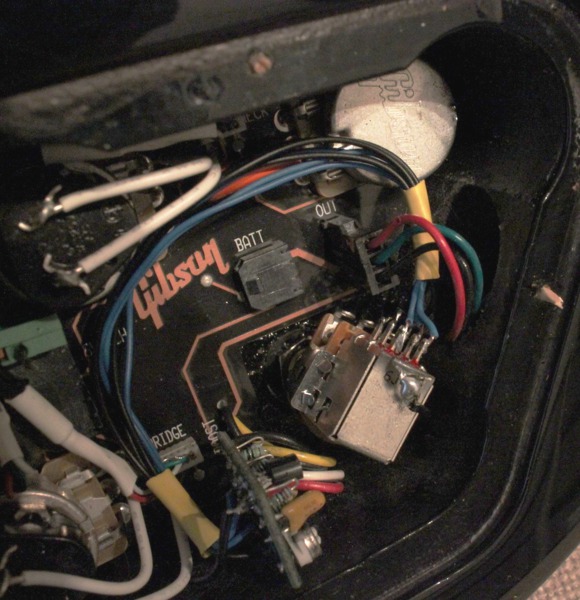
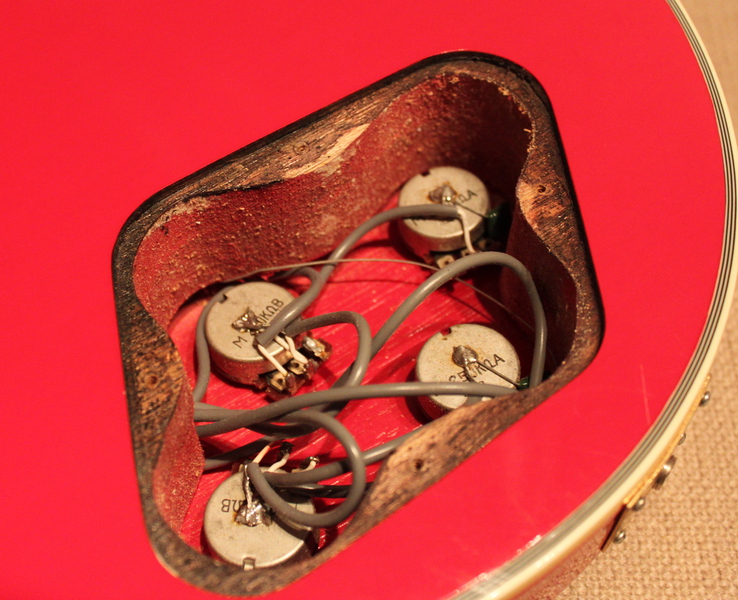
GIBSON 15db Bosst funktion: That, for a session Guitarist is just brilliant. I normaly do just have a single stomp box with me to shape my sound a bit, the rest is made with the volume pot. That funktion allows me to have an aditional sound just with a click. What i really don´t like is that mini switch to activate it. Too tiny, wrong place, not good looking. So i ordered a Push pull switch to replace the mini switch with a bigger knob which also looks a bit more like a les paul where no one has forgotten to put the 4th knob on.
Have a look at the pic, i removed the mini switch with a dremel flex disc. ( I just cut the 6 metal legs off ) I tried to desolder the switch but since its one of these double sided modern pcbs you really have to heaten up all 6 legs in one go and without the right equipment it´s almoust imposible. By flexing it off you can pull each pin seperately. With the 6 free holes i decided to solder 6 wires onto the PCB for maving a bit of flexibility where to place the Boost.
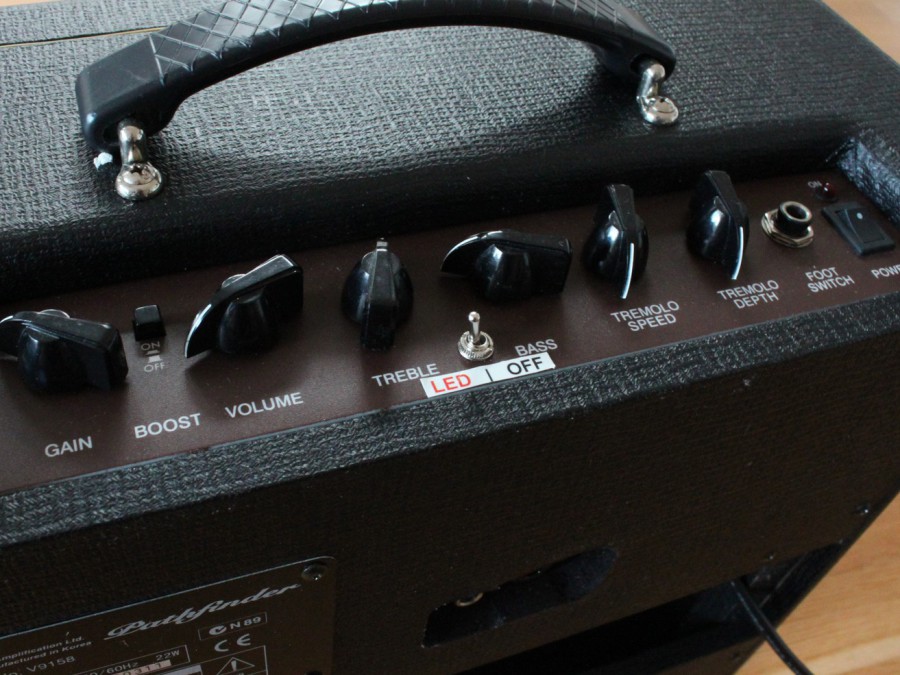
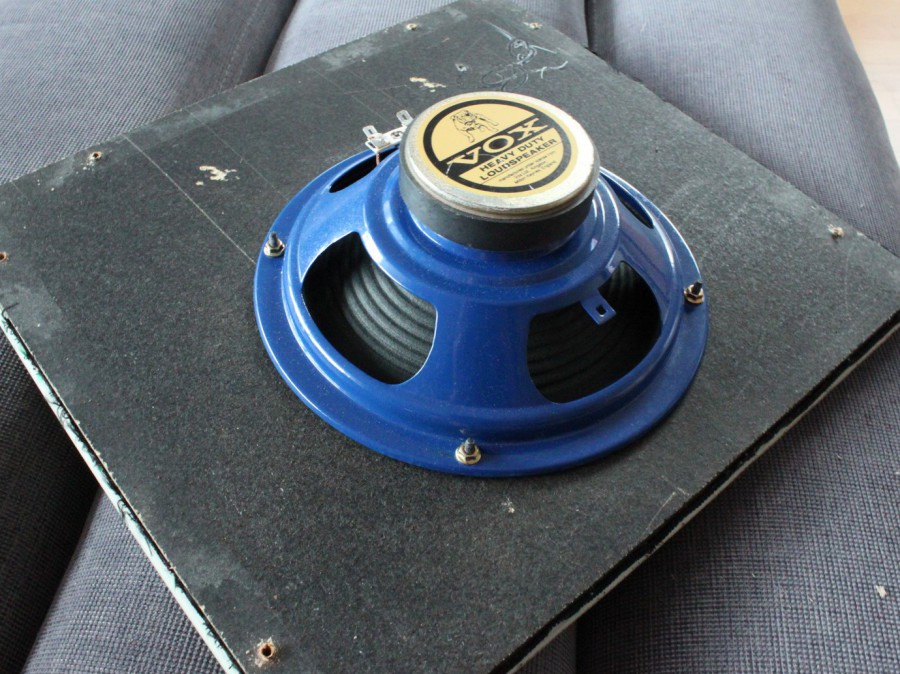
Vox Pathfinder 15 MOD ( V9158 -1999 )

I did get that little puppy a few days ago and did not have a clue what it really was after i read all that praising positive feedback on the net.
After i first plugged it in, it was as mostly described ...... thin sound ..... no tremolo !
After a quick research it was clear - Optocoupler gone ! I replaced that with the proposed type VTL5C3 and Ka-tching it did sound much better.... I also found out, that with my home strat, i had some Tremolo bleeding into the overall tone, even with both knobs at 0. By tweaking the internal trim pots ( VR7 & VR 8 ) you can adjust the Optocoupler behavior to be more harmonized. The bleed was worst with the gain know all the way to 10 and the neck pickup on the low E string. I did put that "horrible" audio signal to a looper and adjusted the trim pots bit by bit, until i had a result with the least bleed through. The pots were very sensitive so it wasn´t a 2 minute job, overall i think i spent 15 mins with that adjustment.
BTW i found out that with the gain at 10, neck singlecoil on a strat and low E string it is also a great way to adjust the pickup height for resolving "Stratitis" on your guitar..... The Vox high gain Fuzz sound annoying with that phenomen, you have the urgent need to solve that.
Since i owned also a Pathfider 10 which i never liked the Boost/Overdrive sound, i did read deeper into the LED MOD story and decided to remove the LEDs. Since the Amp is super MOD friendly i decided to put a switch on the front panel to make this LED MOD switchable. I really like both sounds... if you need a clean base Sound switch the leds off, if you need a bit more crunch, back on.
The model i own was one of the first series without the external speaker jack ( and no reverb ). While i was on it and the internal routing was layouted for a external Speaker it wasnt that tricky. A jigsaw to cut out the back panel a bit more, a seperate switchable jack and a bit of soldering did solve it.
It really is a great sounding amp and i fully agree with the general positive feedback of the Blue Bulldog Speaker. BUT with the ability to keep up ( volumes wise ) with a full band, i can imagine to use this as a small session amp. To have more weight and Bass response i´m currently thinking of changing the speaker to a 10".... I normaly use WGS Speaker for replacements, but in this case, the ones i would prefer are all too deep ( height wise ). OK i could cut out a piece of the chassis but maybe it´s a bit overdone..... For fat Bass response i choosed the Jensen MOD 10-70 which is available in 8 Ohm and 70 Watts. Much too much wattage but it should sound very massive and clear. The height is just right to fit into the existing box without any new routing. Just cut out the baffle a bit and it should be done.
After i spontaniously did get a Jensen mod ( JCH ) 10/35 i decided to put that speaker in for a try. It worked out very well. I always read that the 35watt mods have too many ice picky highs, but actually it sounds very good. Much rounder sound, more bass and more volume. Bear in mind that the gap between the chassis and the speaker isn´t very wide, so a much deeper speaker probably wont fit.
LED Switchable
That´s how it looks with the outer switch to have the amp with or without LED clipping
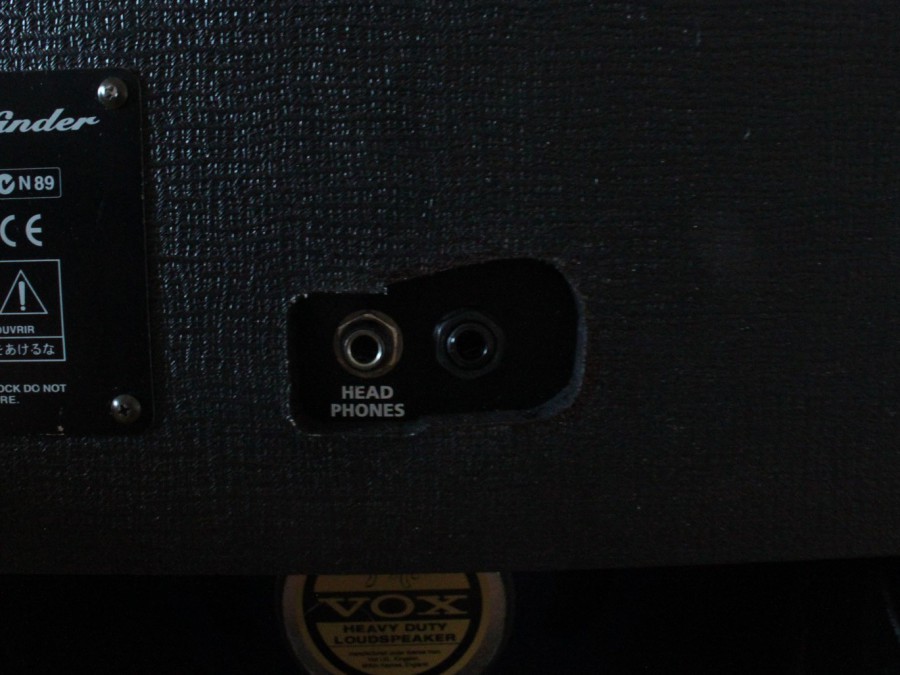
Speaker OUT
Since the first issues of these amp didn´t have a reverb or externa speaker out, i added one by myself
Original Baffle Board
The original baffle board with 8" speaker
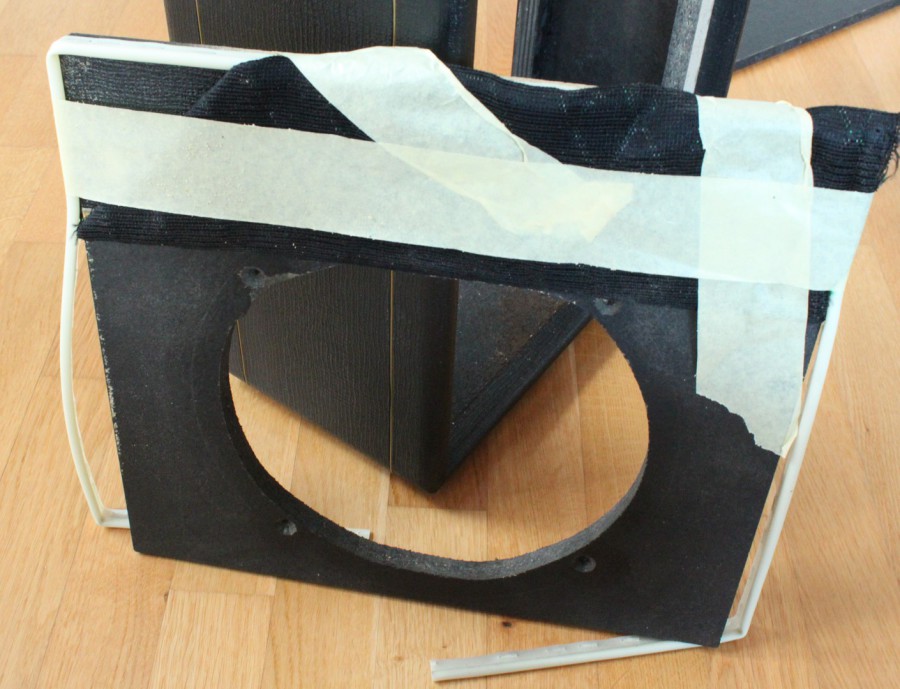
New Baffle Board
I cut out a biggger hole which looks like that. After i removed all the staples i taped the vox grille cloth to the top
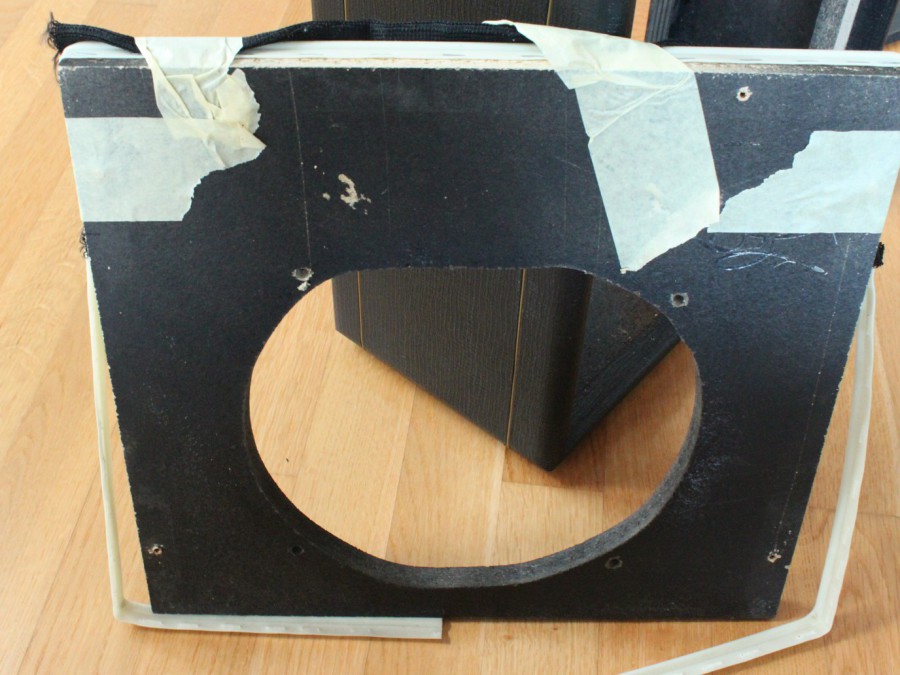
Baffle Board Back
New cut out Baffle Board from behind
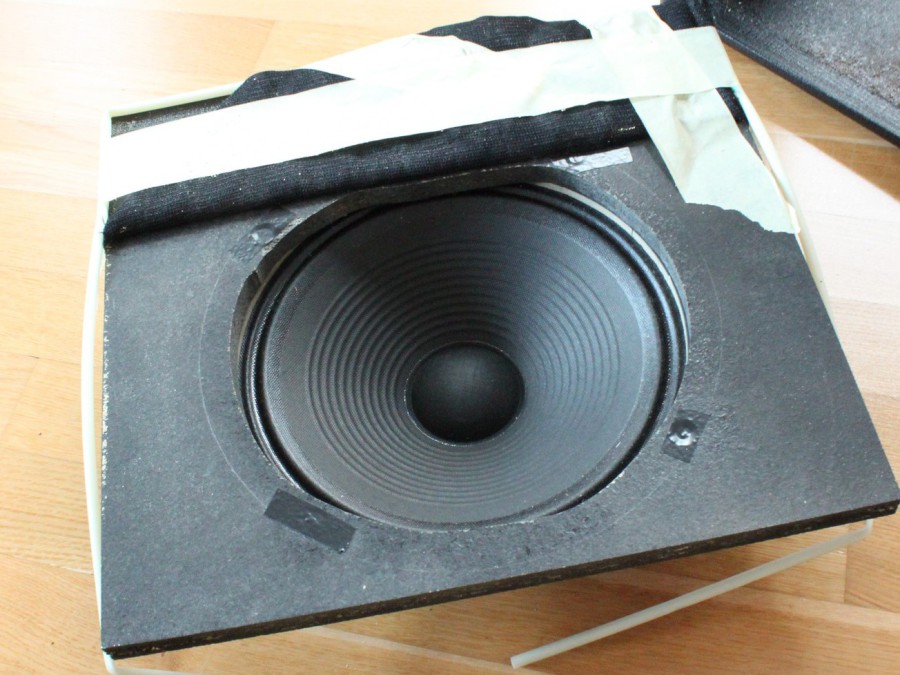
New Speaker installed
Thats the front with the new Jensen Mod10/35

New Speaker 2
From behind...
Looks like a Amp now :-)
After putting the grille cloth back on i reasembled everything
Fits perfect
Thats the small gap with the new speaker... most of the other speaker i had in mind didnt for as the magnet were to bif or the speaker to deep
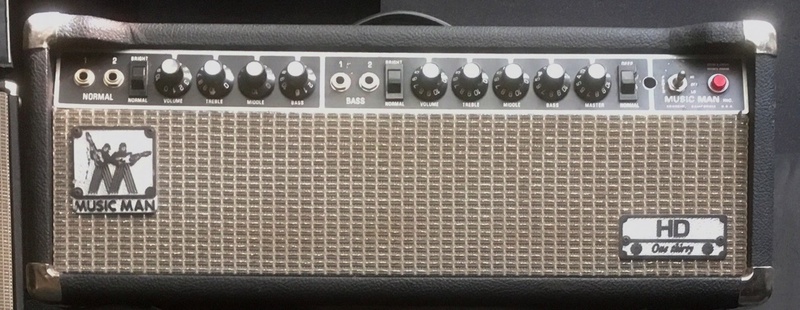
MusicMan HD 130 2100-130 Restauration 1976
 Musicman 2100 - 130
My newest project is a MusicMan HD 130 from 1976. Bought on a neighbourhood flea market for a good price, knowing that the tubes not working....
After i pulled the tubes, the phase inverter 12AX7 was really broken. The EL34s were 3 Telefunken and one Sylvania..... Usually in the older days people just swapped tubes to whatever they found. I guess the whole set is about ( at least ) 20 years old, so no hope even for the old Telefunkens for any use somewhere else....
Before i try to fire him up i noticed the Fuse holder was broken, the power cord was uncovered and somebody implemented a channel switch. The Filter Caps also didn´t look good ( blown up )
So i postponed my first try to the next day until i got the electronics delivery ..... after that i surely will remove the channel switching system and build it back to stock :-) .
As new set of tubes choosed the JJ E34L as they seem to be a bit more on the high voltage side than the standard ones.
More to follow...........
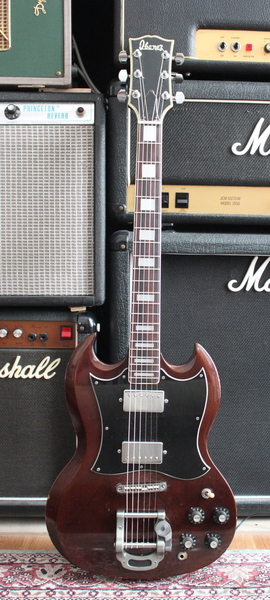
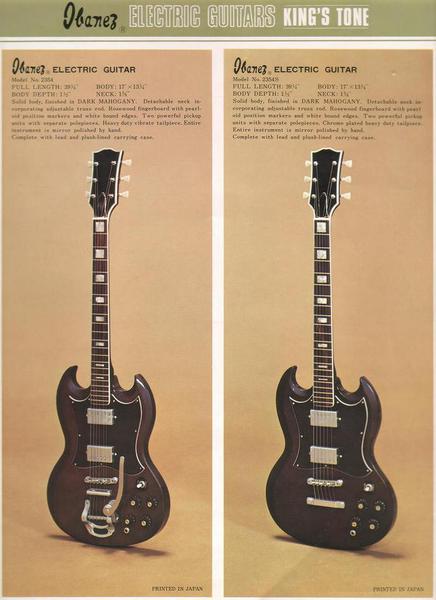
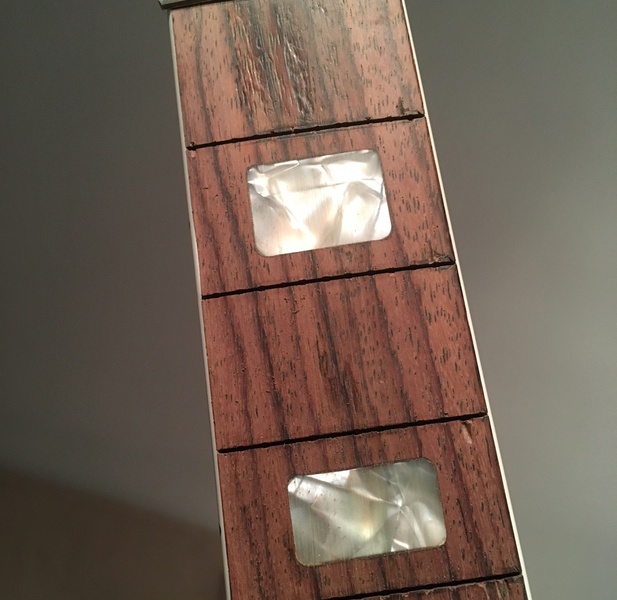
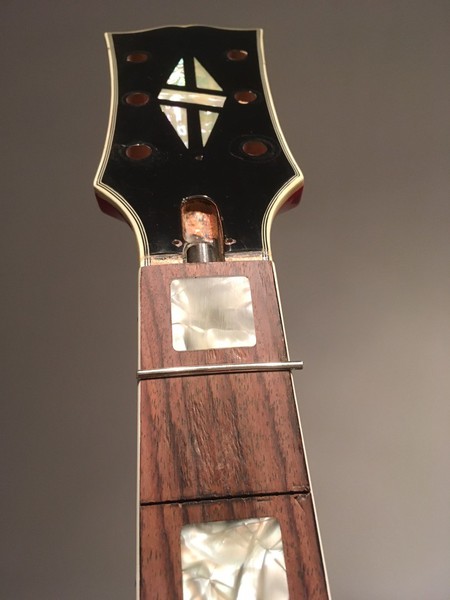
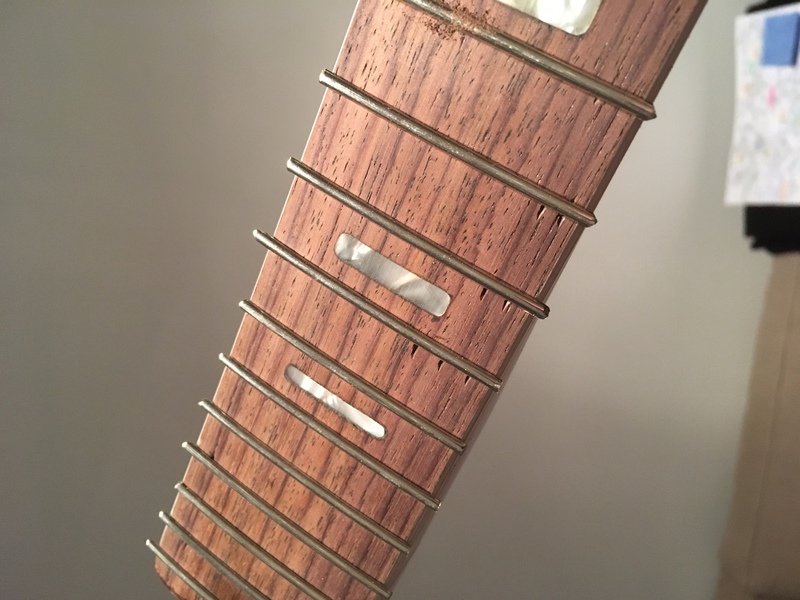
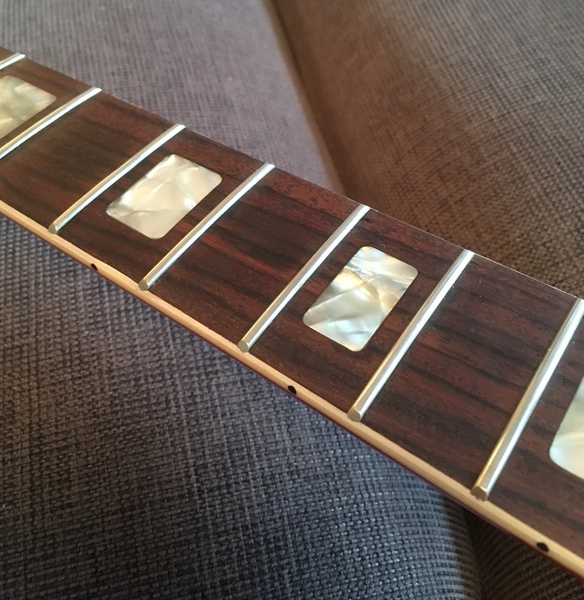
No Name 1972 Lawsuit Japan Les PAUL refurbish
I got this guitar from a friend of mine, after it was lying in the basement for a VERY long time.
Since i don´t own a "Pre Lawsuit" model yet i thought i have a look, hoping to find one of the
sought after Ibanez models.
Back to reality it was a not a ibanez, craftmanship was ok, nothing impressive but the neck felt
very thin and comfortable.
At home i took it apart to find out anymore specific data...
Pickups: Maxon stamped 12X70 ( 1972 ) A good thing ( Real Humbuckers as well !! )
Bodywood: Plywood, normaly not a good thing but you never know, it´s the sound what matters
Tuners: Have been changed to silver Schaller Germany ones
Neck: Trusrod works, frets played down to 0 :-)
Electronics: Pots were very dusti but i cleaned them and they still work....
OK, before i start to se what needs to be done i did put everything back together and restringed it
to find out if its worth investing any time and mony at all.
That been done i was surprised, a very open sounding guitar. Also the pickups sounded great, lots of sustain, so all fine. I heard all of these horror stories about MAXON single coils in Humbucker housings,
Plywood, but whatever it is in front of me, it sounds good.
So decision finalised, first thing is a refret...... Not super easy with the Les Paul binding, but as a benefit we have a bolt on neck.
Other than the refret i need:
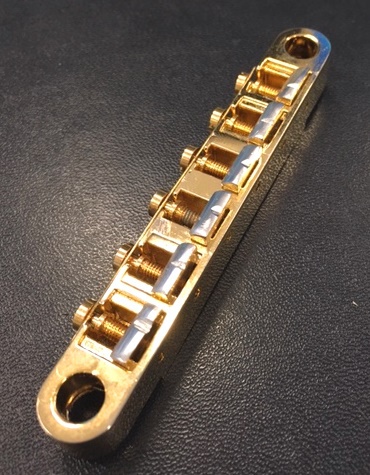
- New TOM bridge ( the one installed is too wobbly )
- New Pots and Toggle switch
- New Nut
- New Tuners
The only time consuming part is the refret, but apart from that it seems like a good chance to ad a nice vintage player to the collection.


The first try to remove the old frets and put in a new testfret worked out great. I love these old frets from the 70s, they are
not as sharp hooked as modern ones..... So took all the old frets out, reshaped the radius ( 12" ) a bit and started to hammer the new ones in. Since i wanted to left the binding as it is i have to cut every fret individually to fit into the fretboard. Im using a Dremel flex disc for that, which works just brilliant.
I ordered a few more parts today to bring that thing back to life......
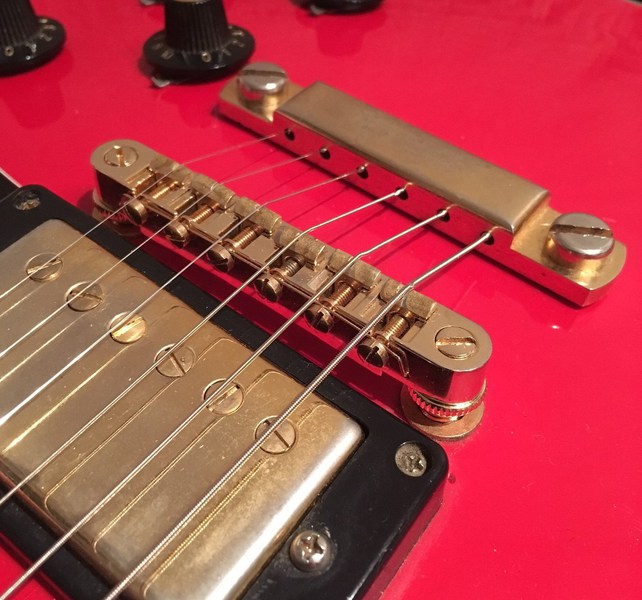
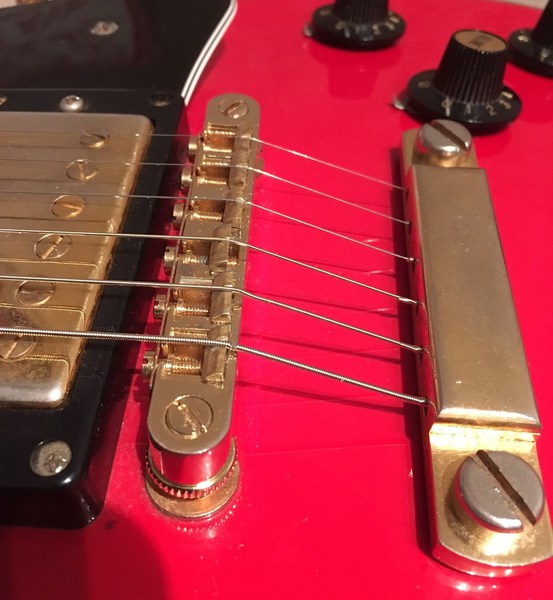
So all back together, sounds great... the only topic which was left now was the bridge... the curretn one has a 50mm string spacing on a 74mm post spacing. The posts are M8 and the spacing ist pretty much a epiphone size but the 50mm is pretty much no ones elses size but very nice to play. What i saw in the WWW is that you could use a unslotted nut and place the slots as you like. I did it with an old epiphone bridge where i leveled all saddles to 0 and slotted it new to a 50mm spacing. Alos the modern epiphone bridges have a 14" radius where the standard les pauls or japan ones have 12". I individually adjusted that for every single saddle and it´s gonna be interesting how it works.


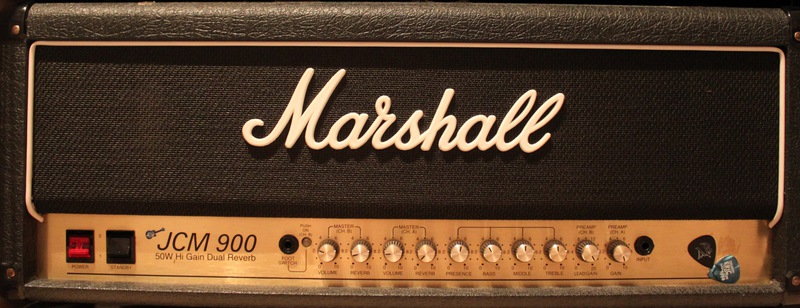
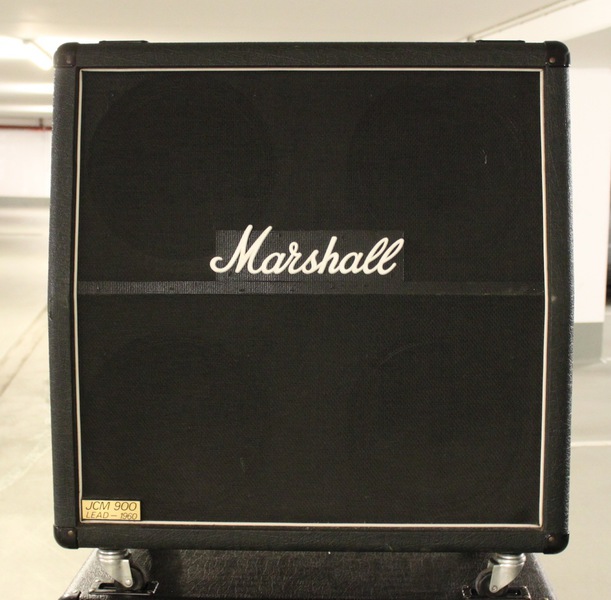
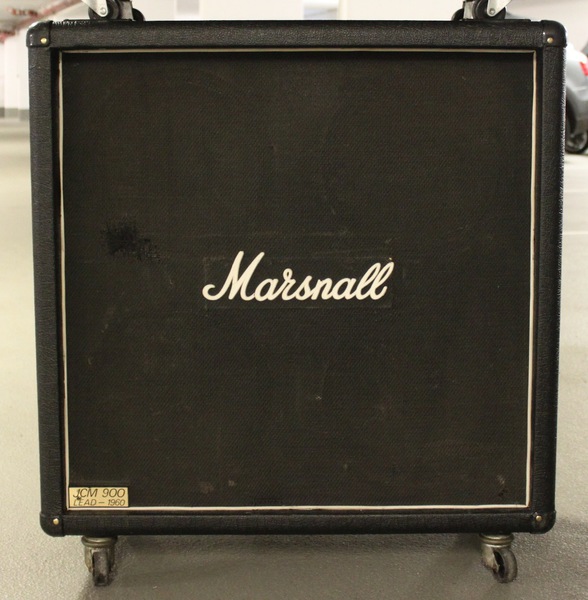
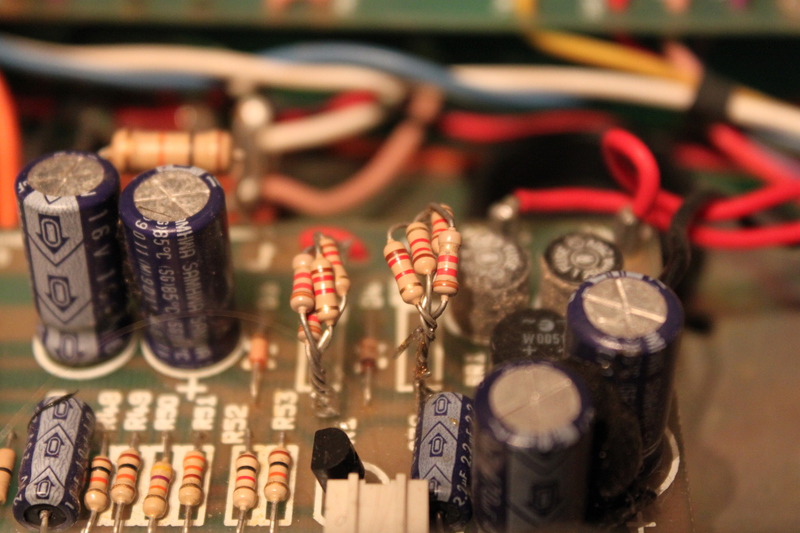
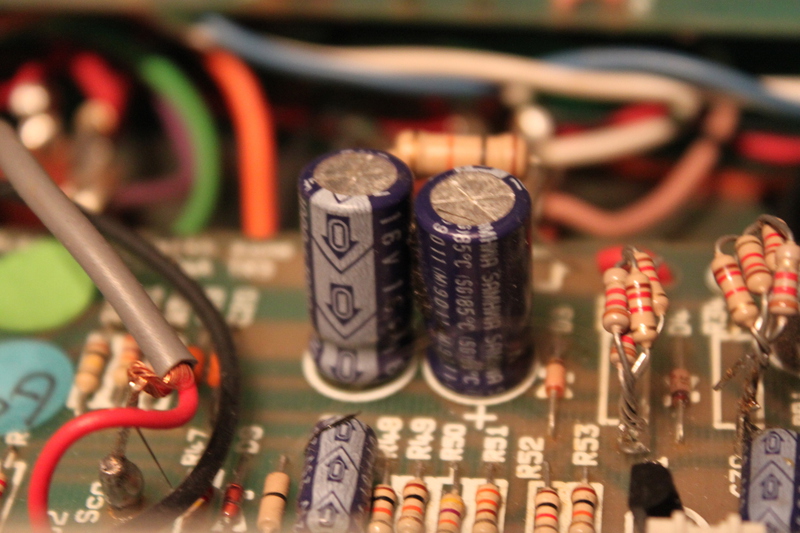
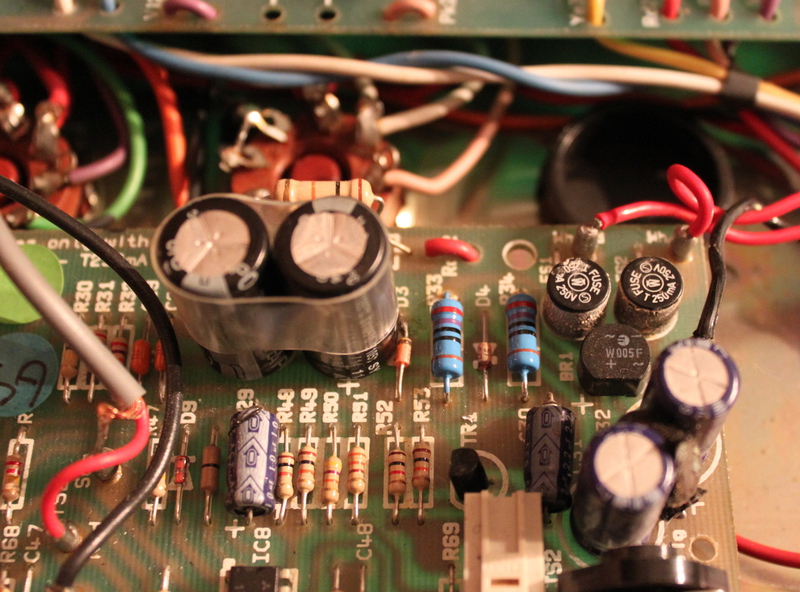
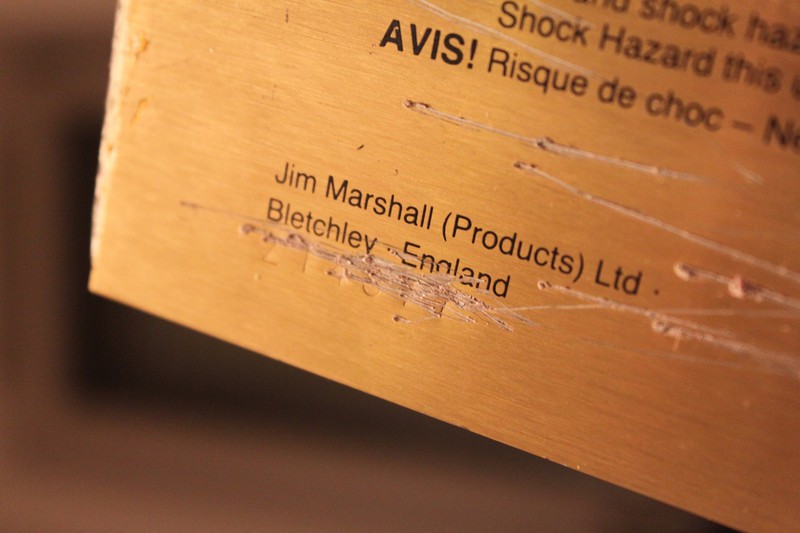
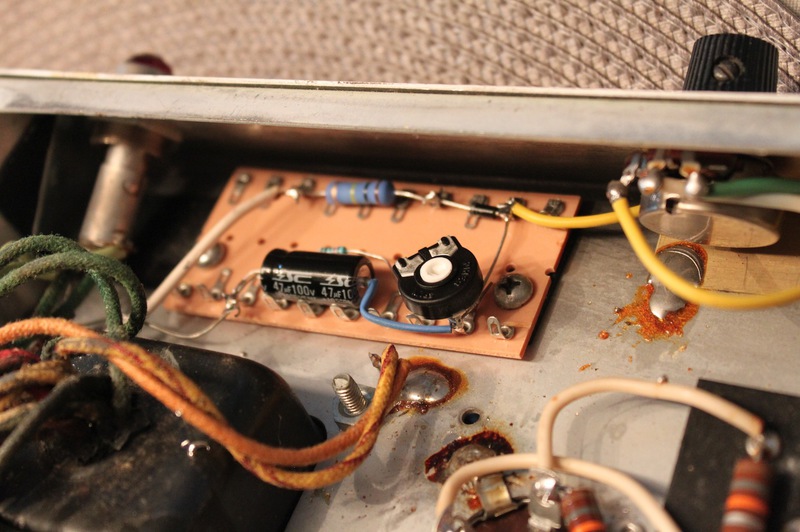
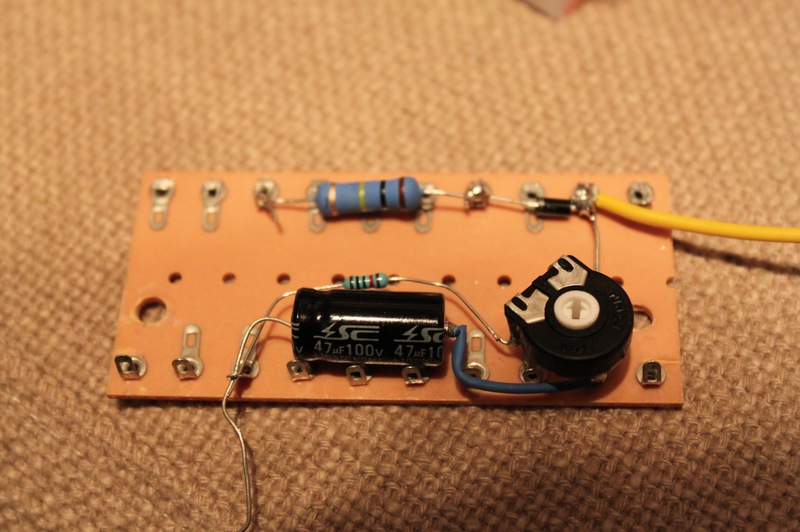
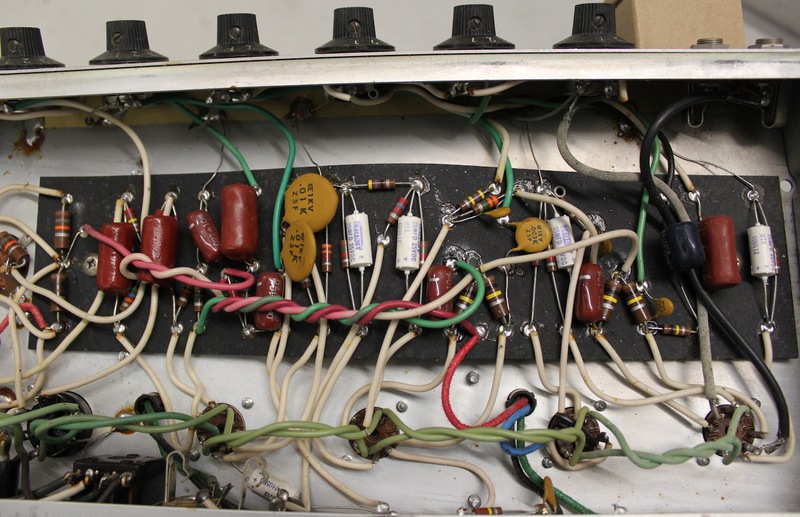
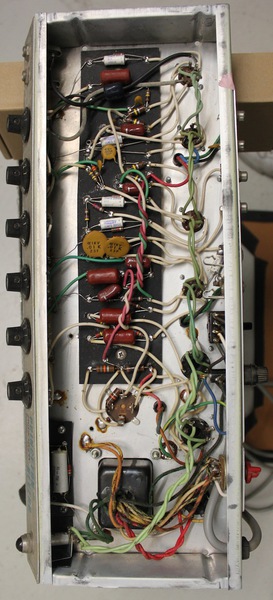
Marshall JCM 900 Dual Reverb 4500 from 1992 ( EL34) Version
The first big project for 2017 will be a completely F@!$´d UP Marshall JCM 900.
I own one already but its the 5881 Version, which doesn´t make a big difference apart from some minor ressistor changes.
After opening it up it looked pretty much ok, apart from a lot of dust and some very strange repair approaches. I did not fire him up yet as there were some really dodgy repairs visible which i don´t really trust, so i get some parts first before i plug it in, to see what works and what not..
OK, fired him up after swapping the restistor "flower" and some loose caps... The symptoms now were: Extremely low volume out of the power stage, and just a not very clear, muddy sound out of the pre amp stage... But overall it should work, as out of every stage you can hear something. Another interesting thing i experienced was that the preamp and the master pots were a bit mixed up, so whatever you turn in Channel A or B always affected both channels..... The PCB overall looked ok, so it must some kind of part failure.....
I read that the switching op amps sometimes go bust and create some interference between both channels.....
What has been done so far:
- Replaced R34/R33
- Caps next to R34 replaced with higher voltage ratings ( 35v instead of 16v )
- New Send and Return effect loop jacks
- New Effect loop dual pot ( the old one was physically broken )
7th Feb:
- New IC8 and IC5 ( M5201 replaced with JRC2120D ) mounted on sockets
After the change of the 2 above mentioned ICs i could hear a sound but at very low volume.
What comes next:
- Resolder the board to exclude dry solder joints
- evtl. change more ICs ( IC 4 )
- clean and retension tube sockets
OK after getting annoyed by replacing all the ICs, i was pretty close to give up. The last JRC 2120D in my set i put in was
the IC 6. While i had a closer look at the IC6 i noticed some weird repair man did put in the wrong chip ( TL072 ) to the spot. With the correct IC 6 all worked better in channel B, volume ok, distortion ok.
Channel A was still i bit of an issue, but after a days thinking, i checked all solder points somebody touched before me, if they are
with the correct parts. ( If someone is dumb enough to solder the wrong IC into the wrong place he maybe did that at other spots too )
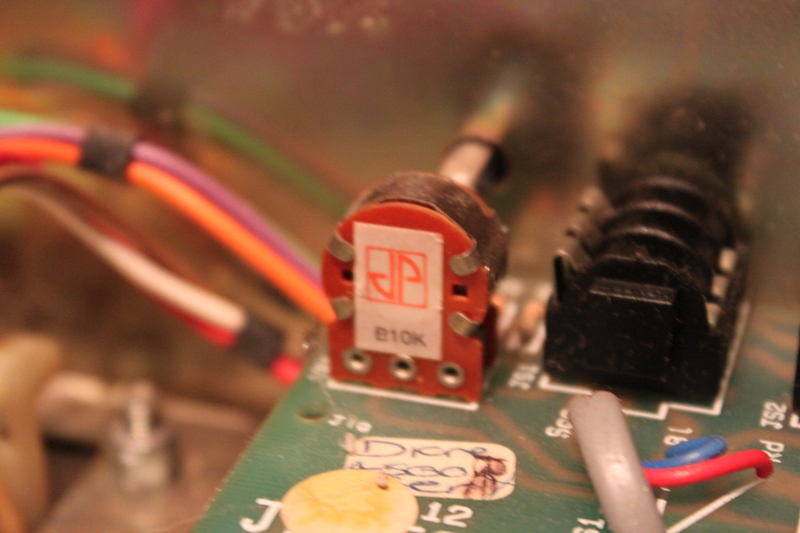
And TaDaaa volume pot Channel A and the treble pot both were far off the correct value. Replaced them with some spare ones i had left from another repair and it all sounded like the JCM 900 i have already ( even a touch better )
The only thing which was a bit off now was the bias. I had a great set of EL34 tubes left from TAD but with very low bias values. So the bias pot maxed out just gave them -34ma which is a tad too cold for me, plate voltage around 425V. I think it was R28 witch sets the Bias range.. i reduced it from 56k to 33k ( ? ) and that worked out pretty well to balance both tubes around -39 and -37 ish....
Have a look at the pics to see what NOT TO DO ! :-)
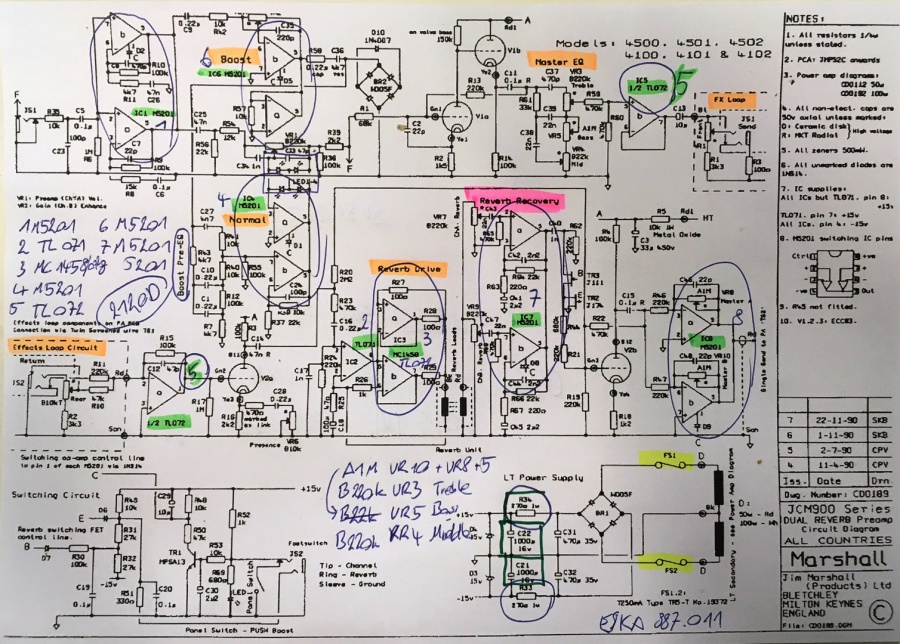 JCM 900 Marshall Schematic Mindmap TL071 M5201 ICs
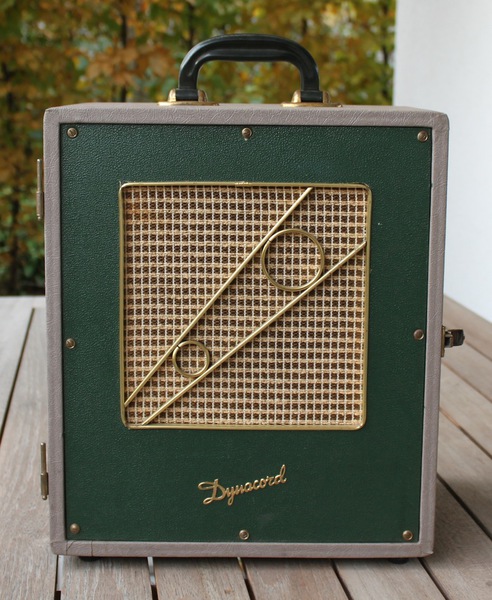
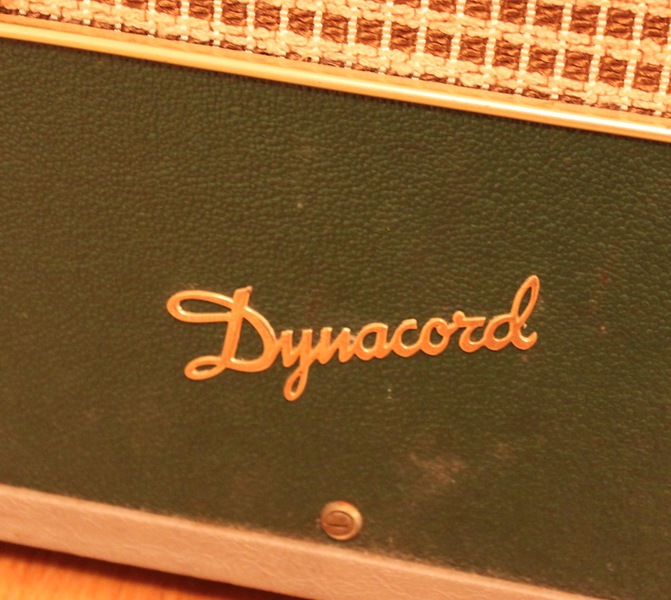
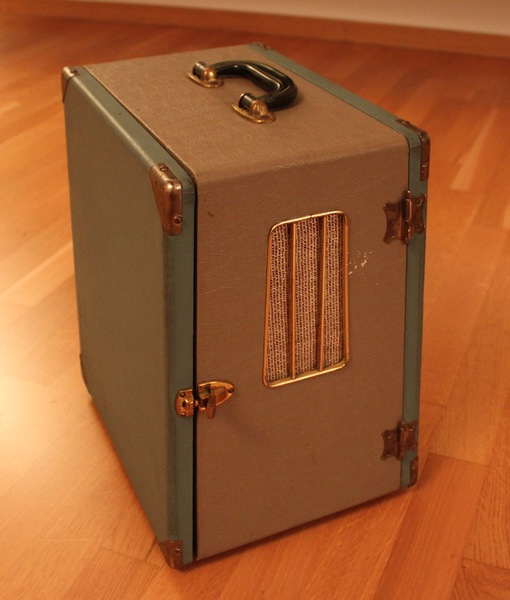
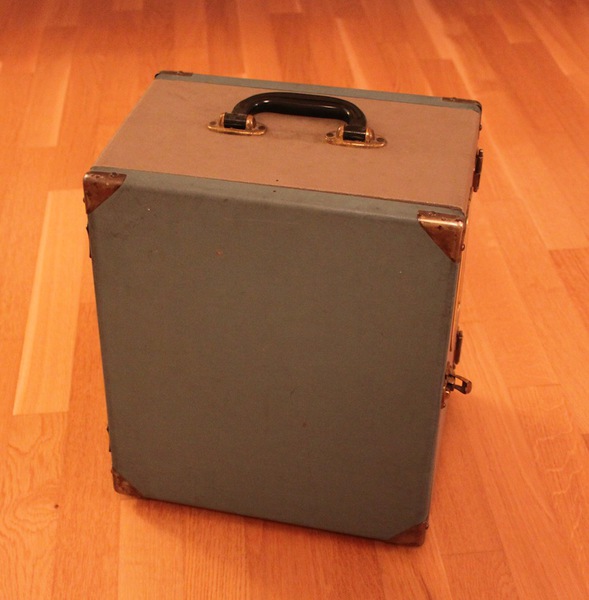
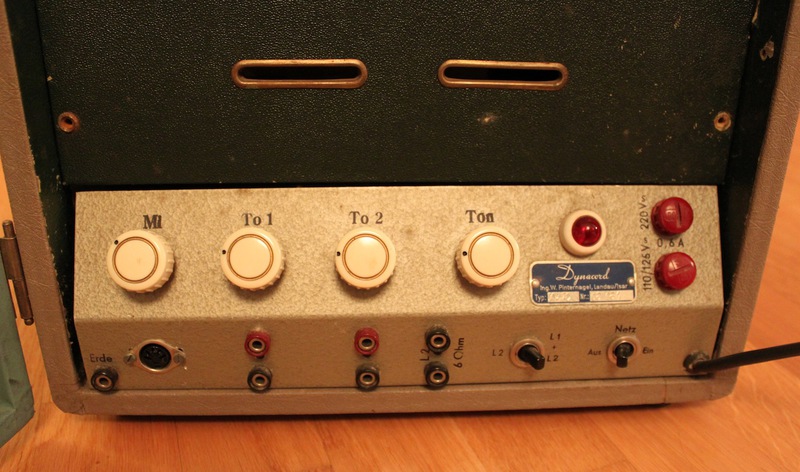
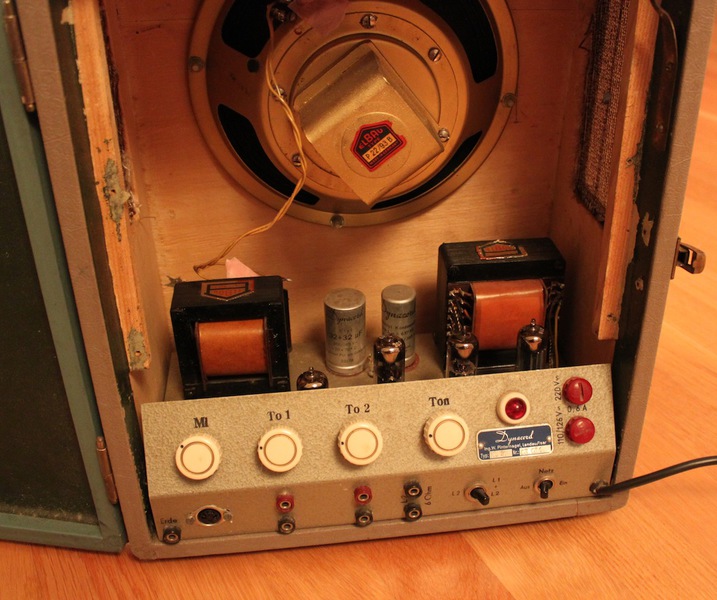
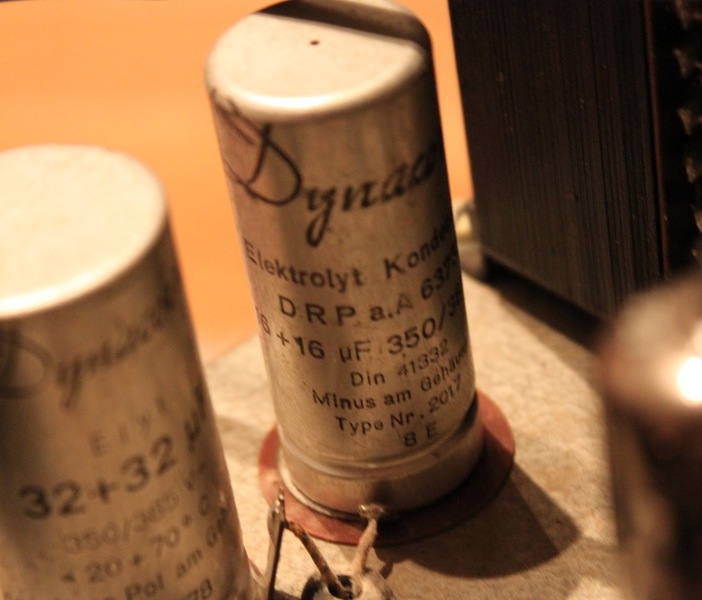
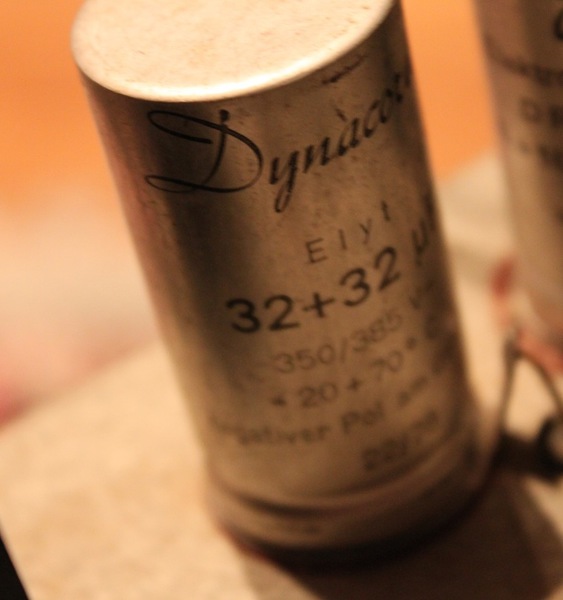
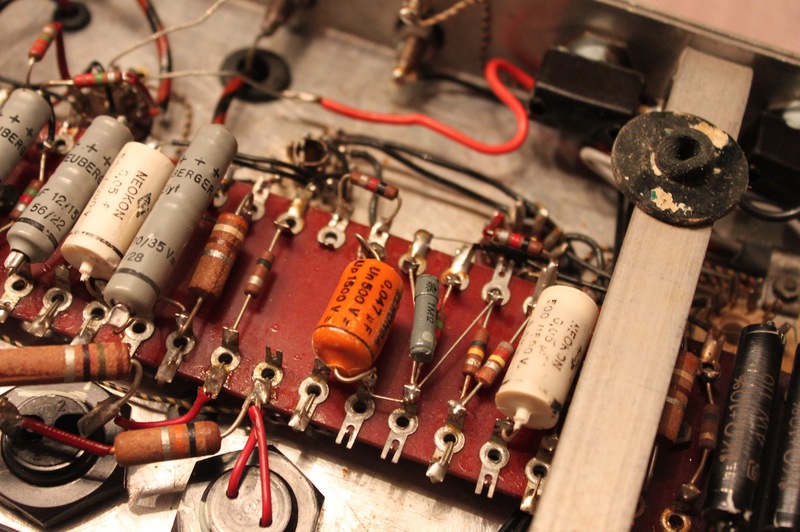
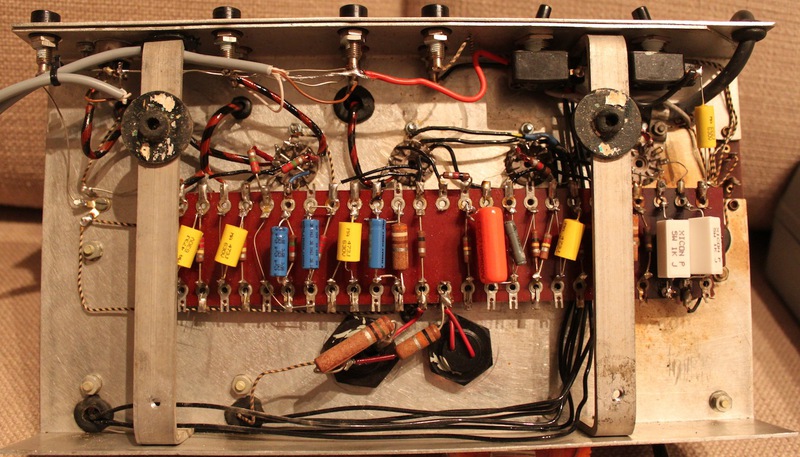
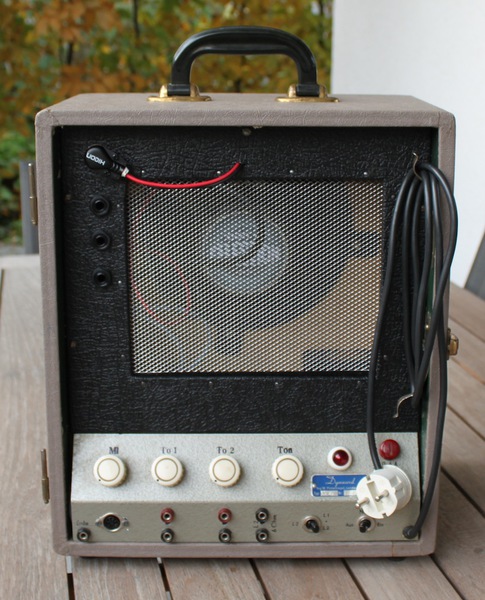
DYNACORD KV-10 from 1957
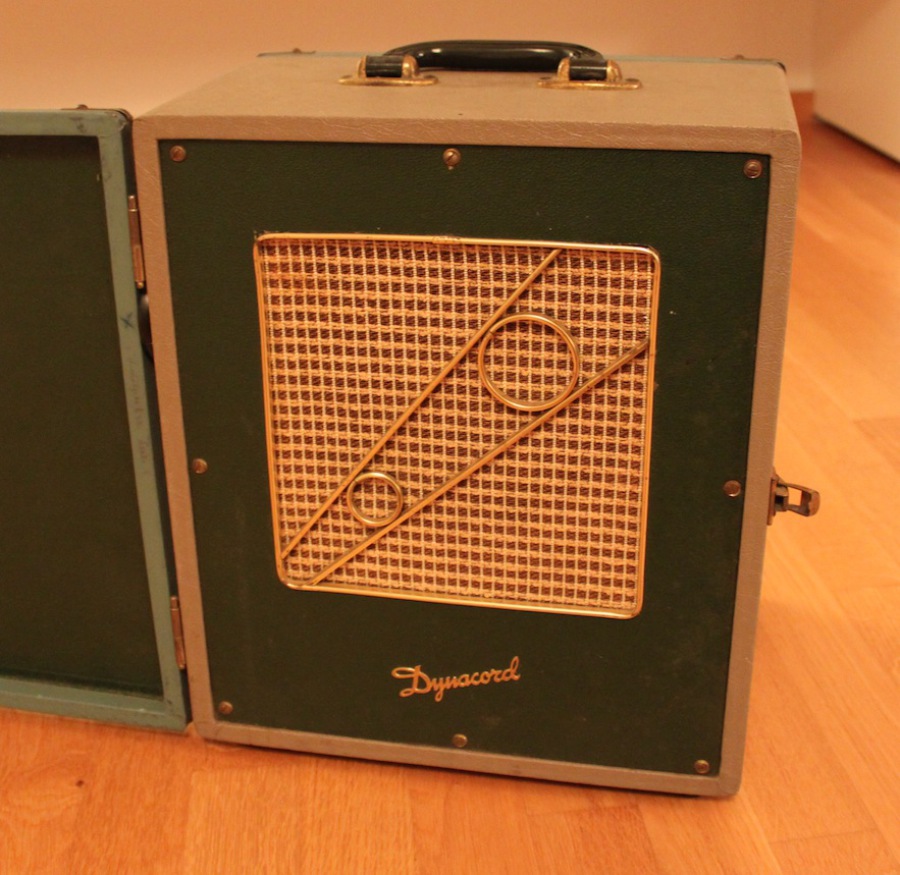
My current job on the workbench is a 1957 Dynacord KV-10
Got that little gem from a musician flea market nearby and didn´t
really know what i have to expect from it until i did some research at home.
A quite nice amp in original condition, nothing ever changed, original
telefunken tubes were also still in.
A first test run showed, it works, but the sound was not of any use.
Hum, cracling pots, high frequency noise, basically what you expect from
an amp with 50 year old caps which did not run at all the last 20 years.
A lot of work to do, funnily enough, most of the parts were easier to get,
than the US stuff for the princeton reverb..... However a lot of work, the wiring looks pretty much 50´s :-)
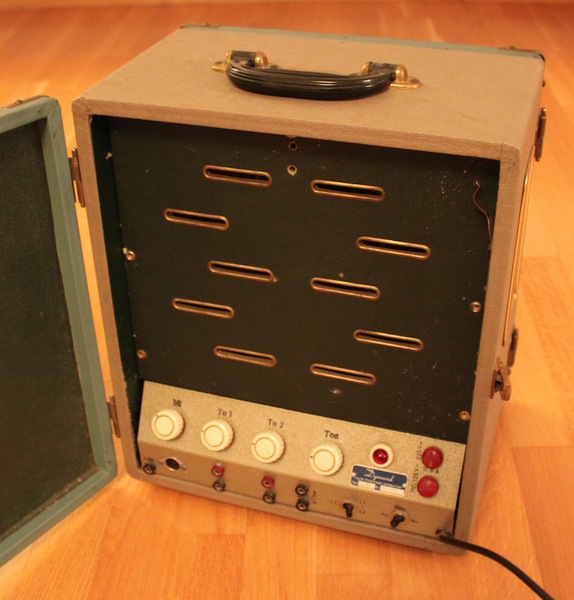
In the end i replaced or added the following parts:
- New Tube Sockets ( the old one were really all over the place )
- New Filter caps ( i used standard 63v ones, slightly off value but good within a 5% deviation )
- New Tone caps ( the old ones didn´t have the best reputation, especially after 50yrs i think they´re gone )
- Some wires have been replaced
- I soldered some shielded wire onto the back of the current inputs to use them via a standard 6,35 mm jack
from a separate panel. The aim was to keep it as stock as possible or at least fully reverseable if it ever gets sold ( pics to follow )
- Backpanel ( The new one with 3 seperate inputs - MIcrophone - TO1 and TO 2 plus a speaker jack for full flexibility )
- Filter Caps ( still produced in original specs )
- New 8" Speaker ( Celestion 8" Twenty - nothing compare to the old one )
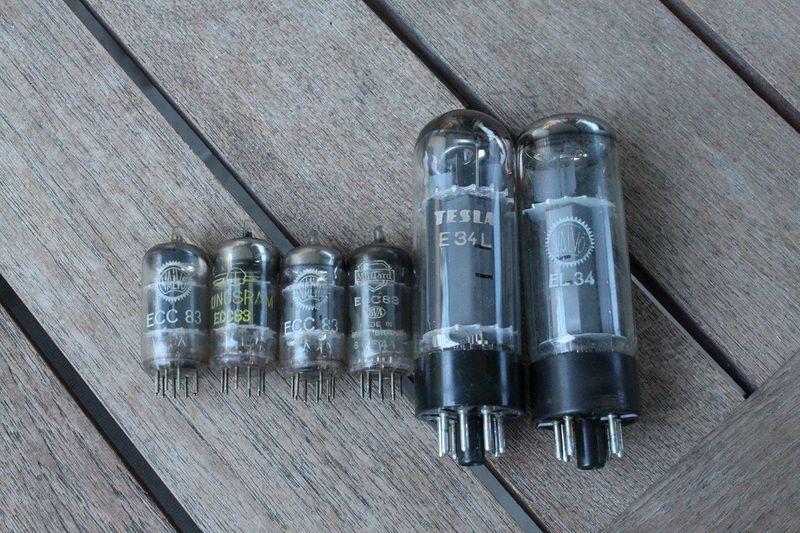
After all i also changed the EZ81 and ECC83s to JJs and the ECL82 to NOS Russian ones. I did not really find out what tube of the old Telefunkens went bad, maybe they all just have been worn out as the sound totaly different after the swap.
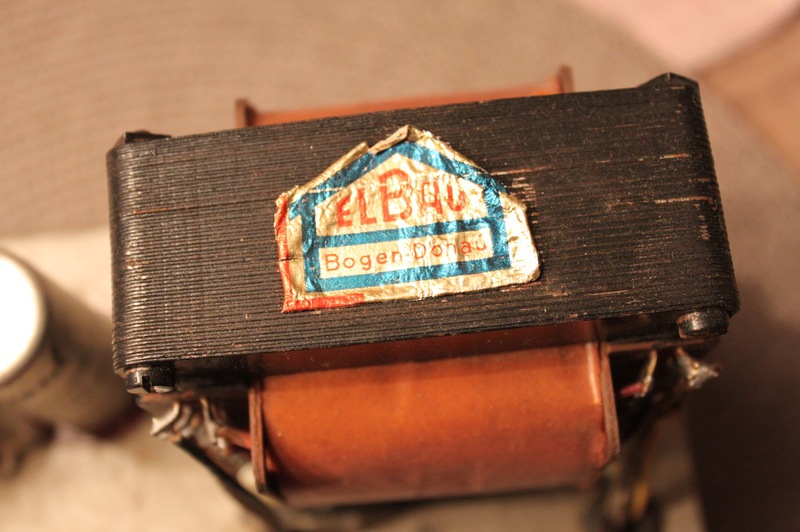
A lot of work so far, but still far away from the sound of a guitar amplifier...Everything looked good, but there was some kind of high frequency noise, not really oscilating.... but super annoying..... I measured all the resistors and one of the 390 Ohm ones went bad.
I replaced it with a 470 Ohm 5w one and it worked fine for that purpose. The other one of those 2 was measured @ 420 Ohm ( R14 and R17 ) so there is always some kind of value flexibility in old parts.
Old Dynacord amps are in general a love / hate thing, but after it ´s now fully refurbished, it sounds really good. Nothing for the big stage, but it gets far lounder than a usual practice amp and provides a fantasic warm nice vintage tube sound.
Enjoy the before and after pics....


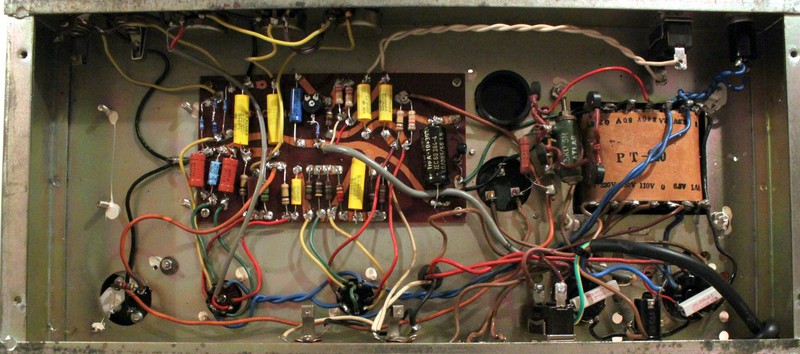
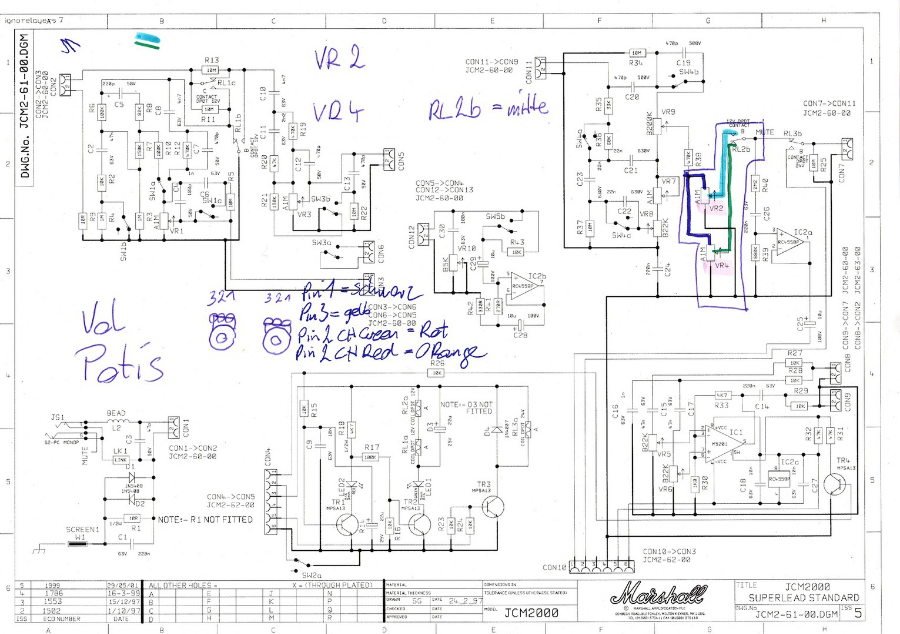
JCM 2000 DSL 100
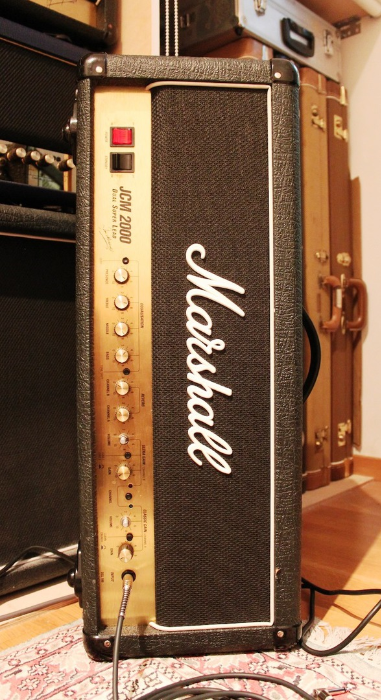
My first Marshall documented repair will be a JCM2000 DSL100 which I got for a nice price of
the German version of CL.
First I expected it to be a nice head for spare parts but after a bit of reading I decided to have a
closer look.
The problem was
-
FX loop did not work !
-
The output was just a loud crackling noise
But actually it delivered a sound so i thought the expensive parts ( Output transformer, Power transformer, Tubes etc.) should work. Crackling can be everything, but apart from a long search its mostly simple and cheap.
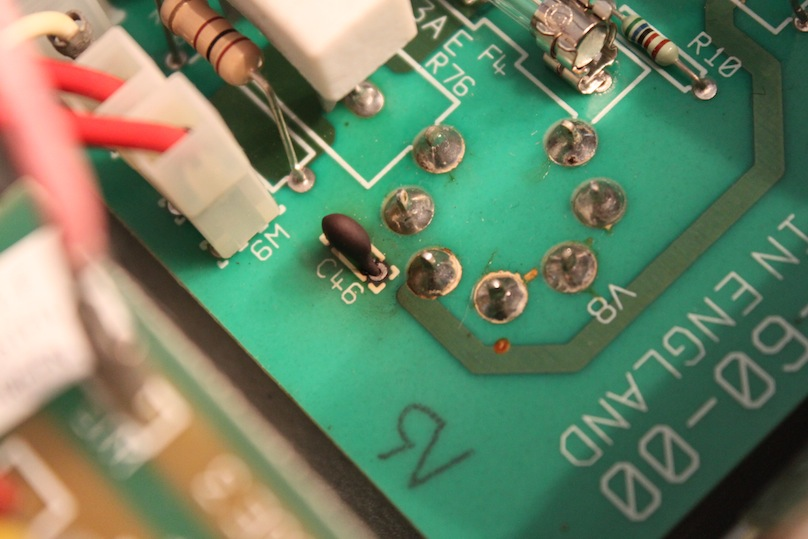
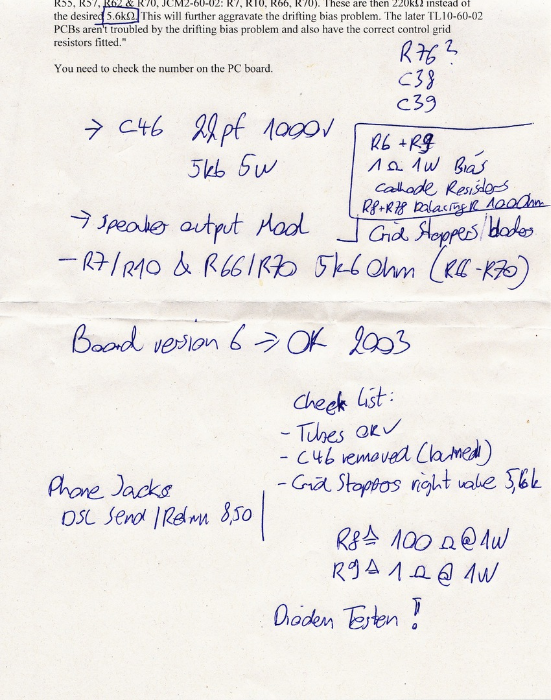
C46
After stripping down the head, first thing I saw was a fried cap C46, which I read is quite normal in the early JCM2000s, as the value rating with 500v is far too low. I replaced it with a 1000v one.
Apart from that nothing was visibly burned, all the screen grid resistors, filter caps etc. looked ok, so I decided to reheat all the solder joints, to rule out that other ( very common ) problem of dry solder joints.
C46 1000v
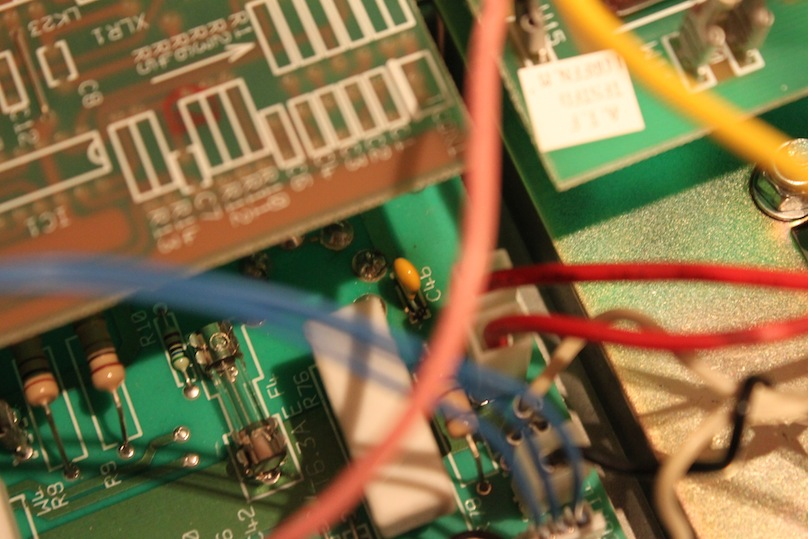
Board Version
The amp is from 2003, so there is a good chance that it is affected by the bias drift problem due to bad board material. 2003 is more or less the magic year, everything before should be affected, everything after “could be”. Marshall had a short period where they offered replacement boards for free via their support chain. I think just from 2006 onwards it was completely solved.
The early boards also have the “wrong” grid blockers value…. R7, R10, R66, R70 with 220k instead of the usual 5k6. I didn’t have that problem, all was correct. Also my board seemed to be a newer version starting with issue number 7, so I am probably a lucky owner of one of the boards with the resolved bias drift problems….
If you have the Bias drift problem, there is a fantastic page out there which does cover a lot JCM2000 issues.
http://www.lynx.bc.ca/~jc/TSL122.html ( Thx to JC )
i further checked all the Tube power values, Tubes were working, tested the diodes ok, some resistor values all seemed to be ok.
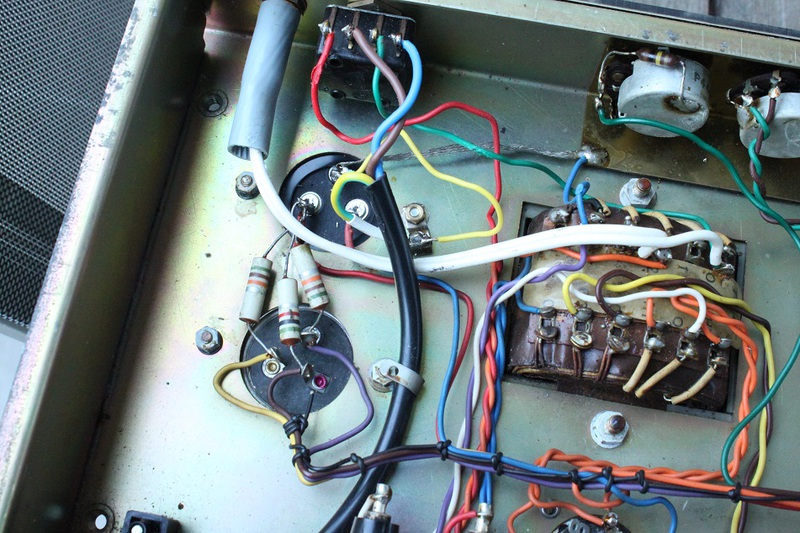
COM Cable Problem
On each of the PCB boards I saw red markings on the COM cables, so someone was working on the amp already before me…. I downloaded the schematic and tried to figure out which of these COM cables belongs to which socket. After spending 10 hours of soldering and troubleshooting that finally was the real issue.
BAD Pots
The COM cable from the front board to the Reverb/ fx board was swapped, and also from the front board to the power board there were two cables the wrong way around. After bringing that into the right order the amp ran nice but just at a very loud volume. It felt like a pot problem, so I ordered new ones to double check… ( actually I hate these small PCB mounted pots )
NEW Master Pots
I did stick the new ones in and it was the same problem, but with a different volume range.
After PCBs don’t like to be soldered often anyway I decided to get some small ( 16mm )
APLHA pots ( very oldschool, but i like ALPHA pots ) and solder them onto the board via some connecting cables.
Since there are a lot of jumpers on the board anyway it was pretty easy to get those cables attached.
The 4th pin on the pot is of no use !! so it’s just the usual positions 1 – 2 – 3 which have to be connected.
With the new potentiometers, the problem was solved !!! The pots were running smooth and also playing at low volume was now possible.
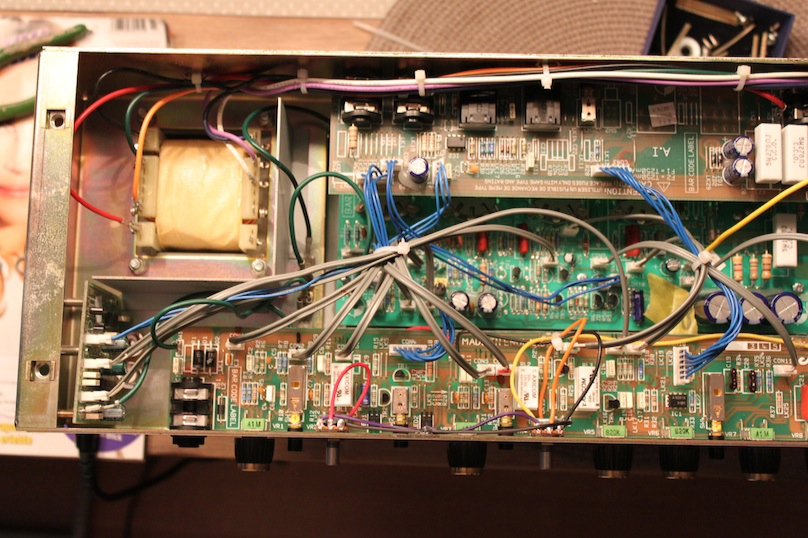
The long story short is, that it doesn´t always have to be a complicated fix, sometimes its just a swapped cable, a cap, and 2 pots to have a great working amp :-)
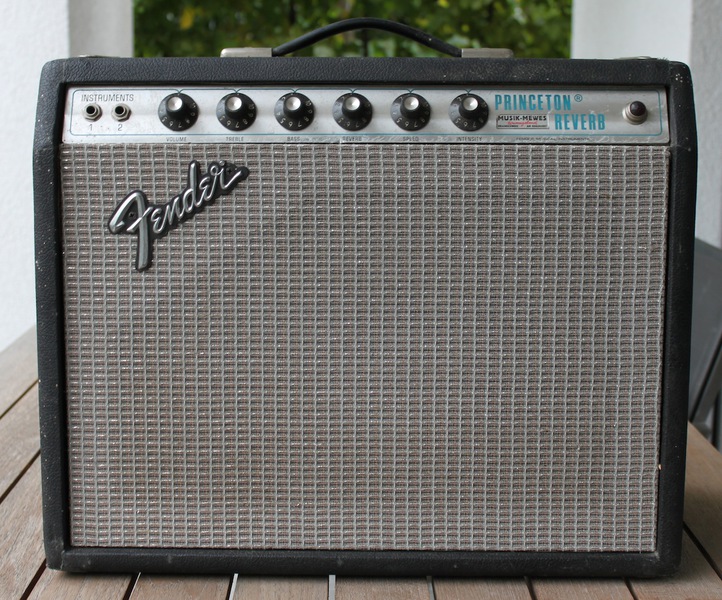
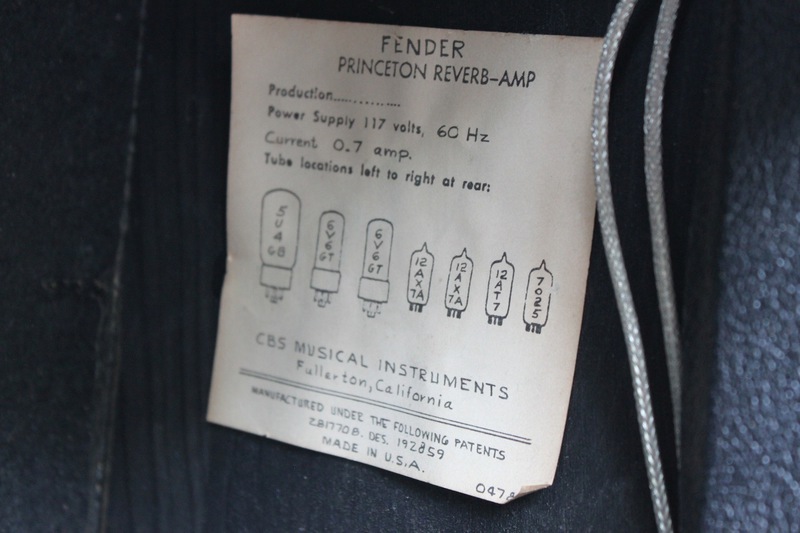
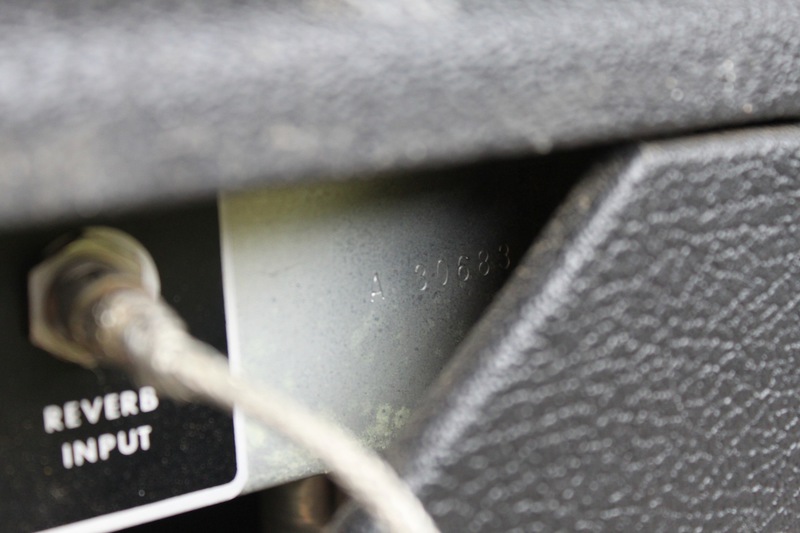
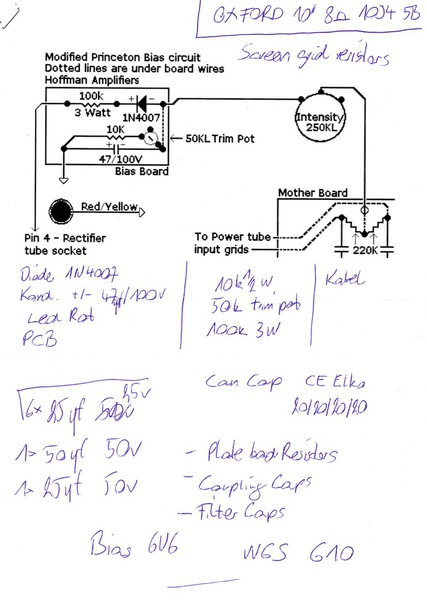
1974 Fender Princeton Reverb Silverface
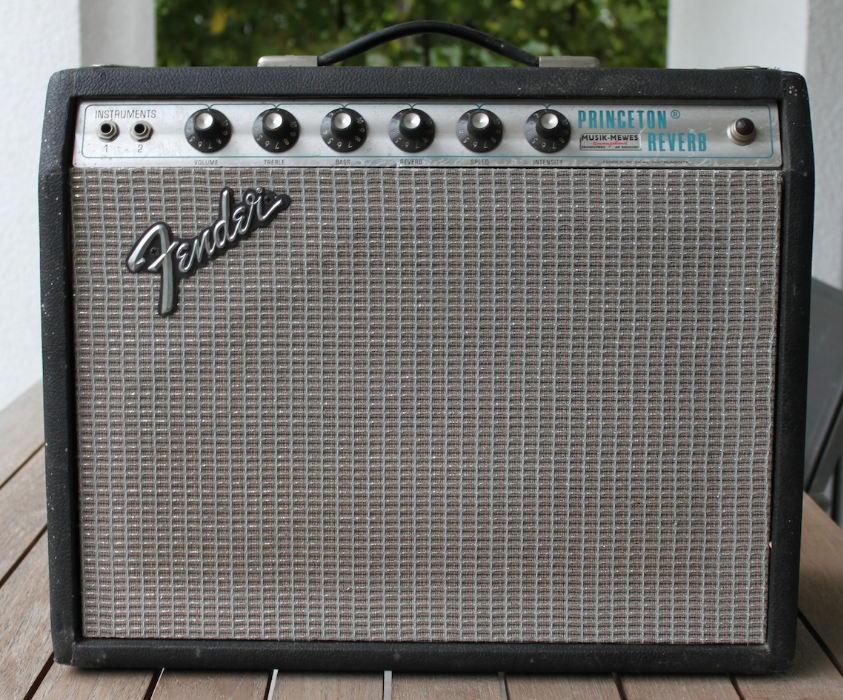
Here it comes.... My first Fender amp refurb !
And to keep it interesting i starte my expedition into Fenderland with a very nice and clean, all original, not a single solder joint touched, 1974 Silverface Princeton Reverb.
When the amp arrived, he was humming, very loud and dark. No input signal was taken, nothing.
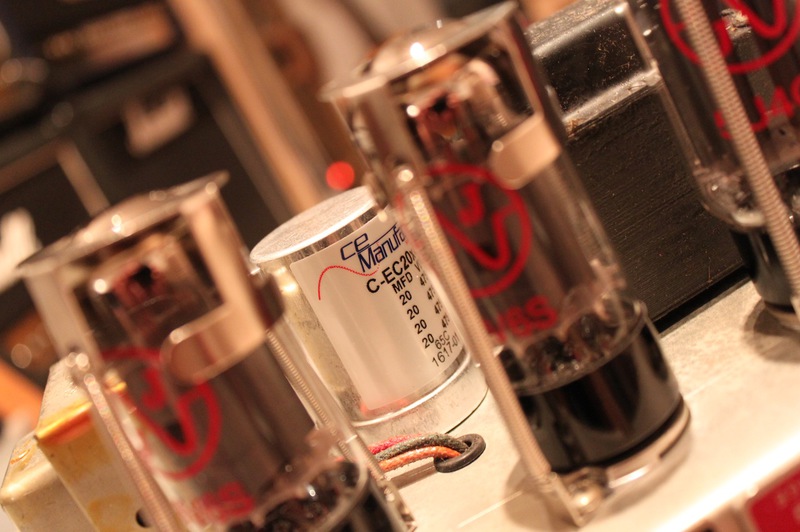
It still had the original RCA tubes in..... some of them seemed to be in good shape, others ( the 6v6, the ECC81 and the 5u4 ) looked like they were 40 years old and played to death...
First of all i did a tube swap to see if the problem is maybe tube related. I used JJs, apart from PI where i used a super selected TAD Ecc83.
No change after the tube swap, so i actually went on to check the FilterCaps. I replaced the old silver can cap with its original part from CE Manufacturing 20/20/20/20uf ( fairly expensive, a new JJ CAP would probably done the same job, but the aim was to keep it as original as possible ). I also changed the 4 cathode bypass caps with Bipolar TAD 25uf/25v ones. ( never used Bipolar ones but they were advertised on the TAD Homepage and why not give it a try )
While i was on it i reflued some dodgy looking solder joints and added a 1OHM /1W resistor to pin 3 for easy Bias measurement.
BIAS: I wasn´t sure if should change anything on the BIAS circuit, but after some research a adjustable BIAS is probably the only way forward and i ended up to rebuild the whole circuit including a pot as variable resistor. ( so i still have the original part available in case i wanna build it back to original specs )
After i fired it up it sounded ok but the VIBRATO was extremely noticeable even with both pots turned to 0 and the sound was somehow thin...The Reverb didn´t work at all and turning the Reverb knob past 2 created some parasitic oscilation. Another thing what worried me was a very high plate voltage of 470v, not dramaticaly high but higher as usual...
The other day i spend some time with chopsticking the board and TaDa i found a loose ground connection on the reverb circuit, which also had an effect on the Vibrato and the overall sound. You wonder what the high plate voltage was ? Low batteries in the meter.
Additionally i added some tube retainers as this is an easy add on to prevent the tubes ( especially on the rather old sockets ) from falling out while traveling. For tubes i did put in the old RCAs in the preamp stage again, the ones which were looking good, and JJs in the power section.
One thing i want to highlight ( after searching for a readable schematic ) is the page from Bernd Brieskorn. http://www.brieskorn.de/Guitar___Amps/Verstarkerprojekte/AA1164/aa1164.html
He has drawn a very nice Princeton Reverb Blackface shematic....
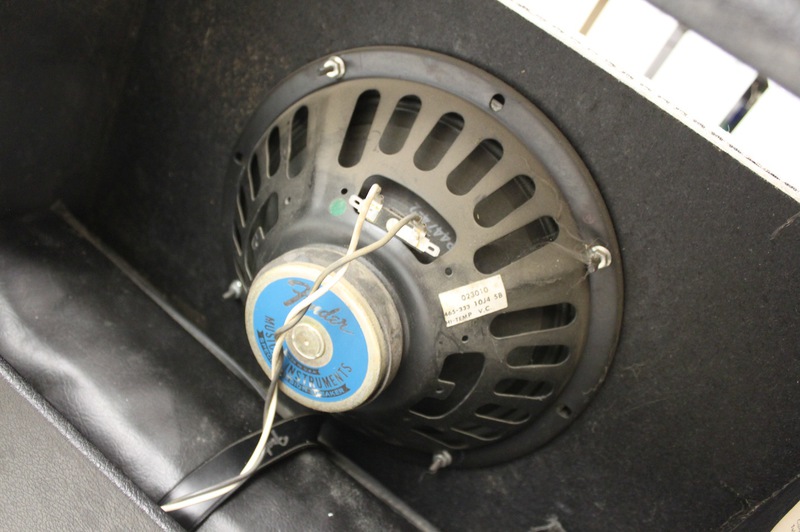
I though about a speaker swap as well but time will tell how the old OXFORD behaves.
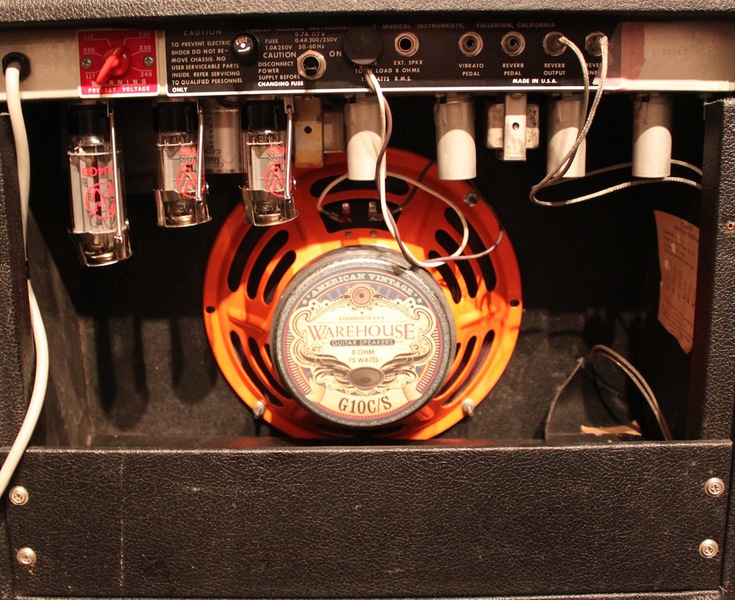
UPDATE: The old Oxford ist great... even loud, nothing to complain, but just did get a WGS G10C/S for a good price and just ried it.
Phenomenal, that turns the amp into a different animal.... and its an easy swap......
I will also post some soundclips in the next days......
Enjoy the before and after pics.........


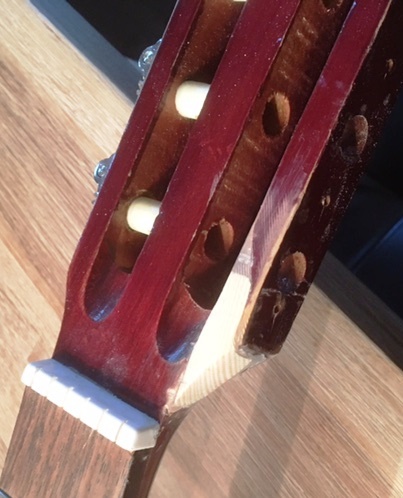
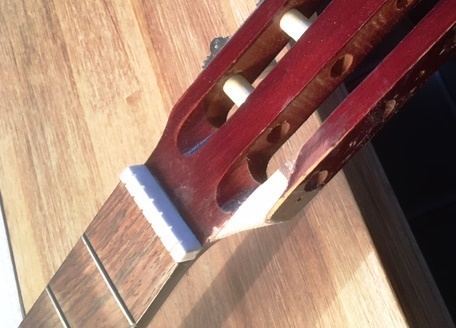
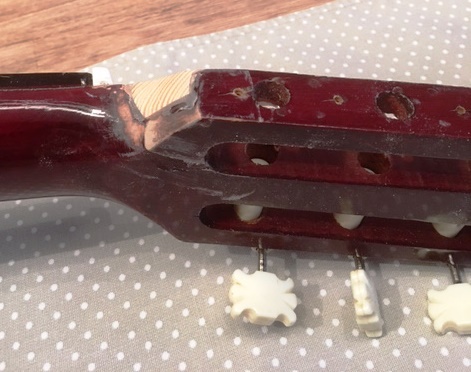
Old 70s Morris Classical Guitar - Head Crack -
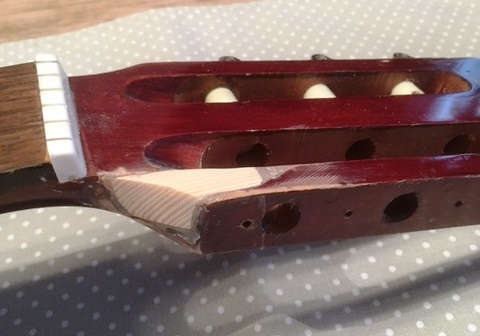
Have a look at my latest fun repair of a Morris Classical Guitar.
It came with a big crack across the head, a big piece of wood was mssing as well.
I did held the tuners, but was practically not usable. First i glued the crack and did let it dry.
After that i milled out the missing wood to a clean square form, to rebuild that part out of a fresh piece of wood. I glued that bit in with epoxi to get it propperly filled.
Sanded it down to be flush with the rest of the head and voila... Normaly i do Les Paul head repairs, but this one was kinda fun as you couldn´t really damage anything. The result was surprising to myself, colored it accordingly to the rest of the guitar and clearpainted it.

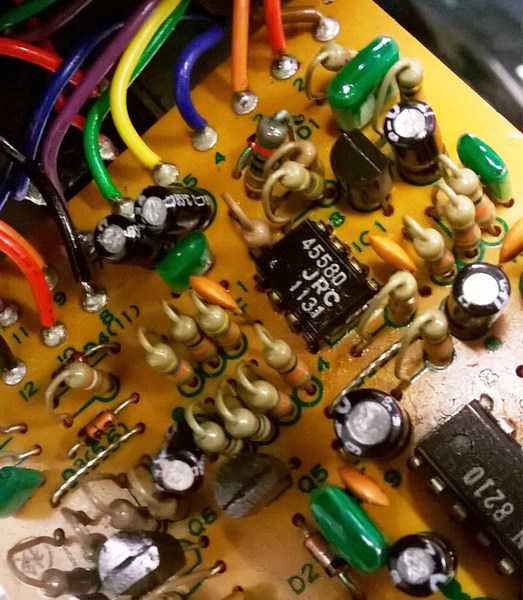
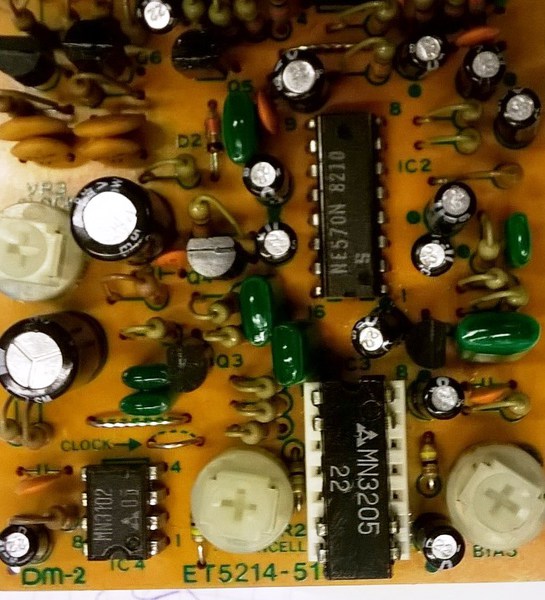
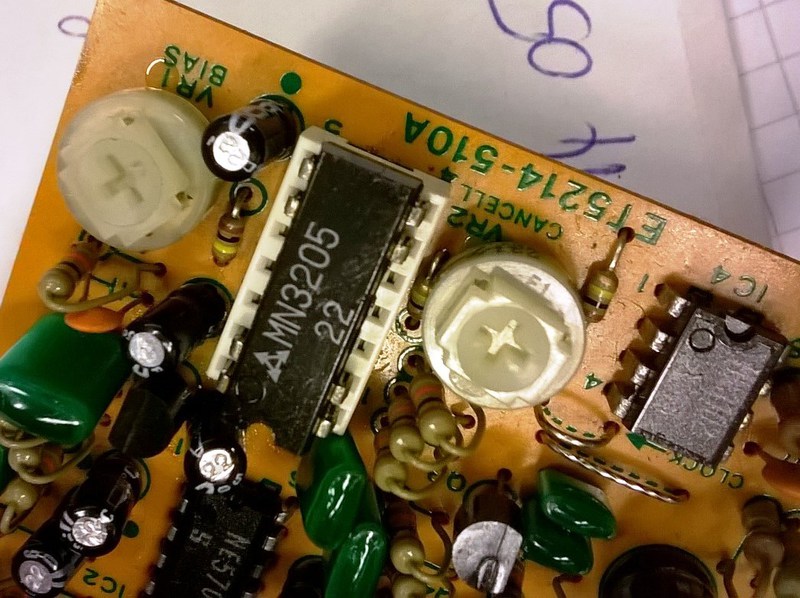
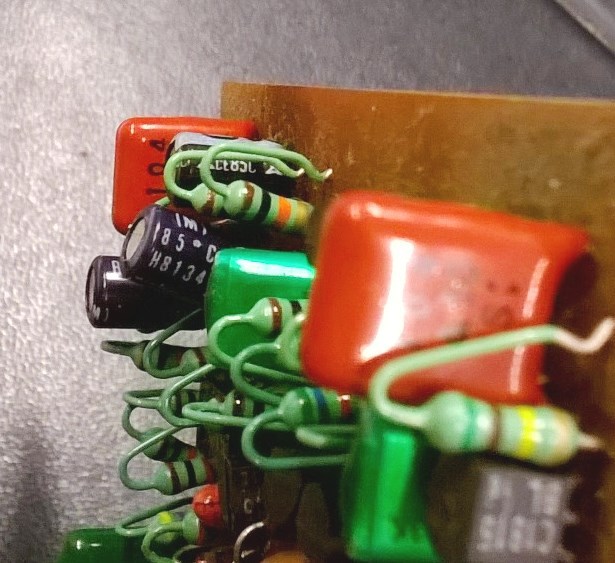
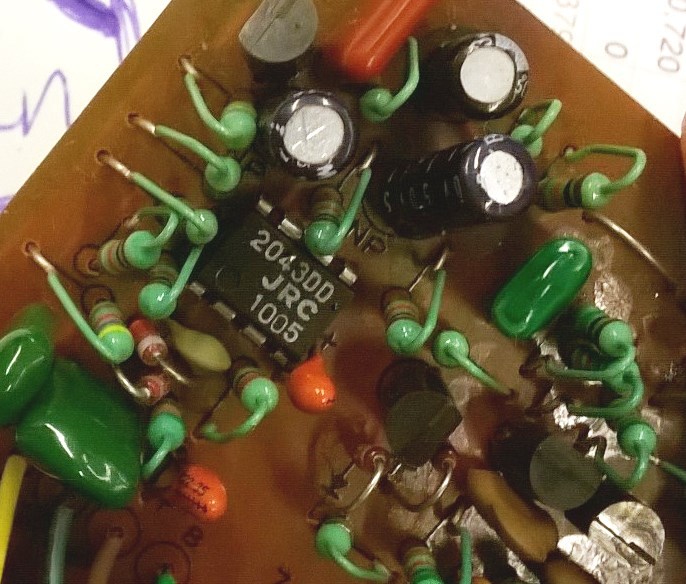
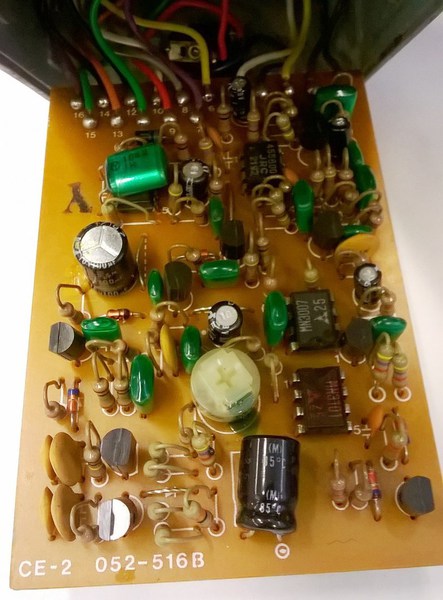
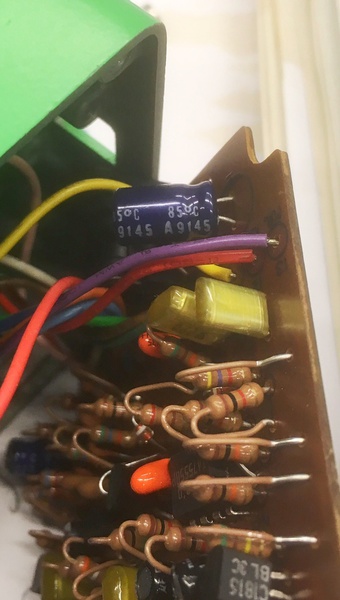
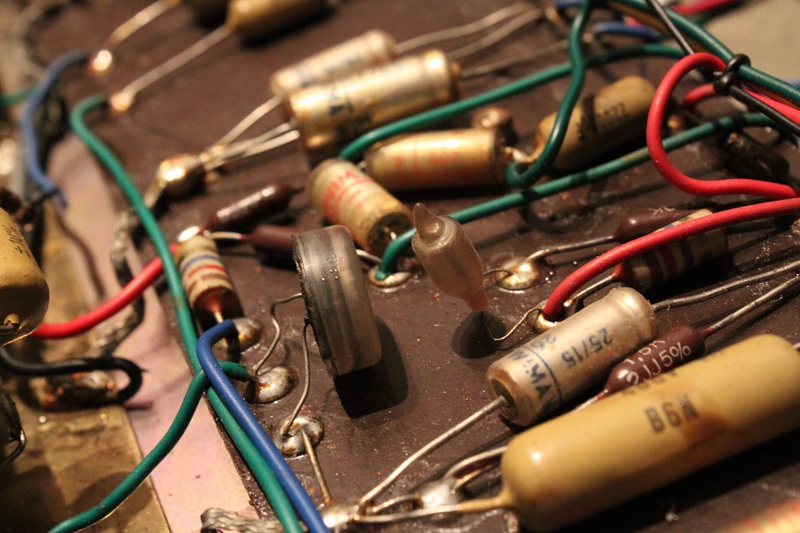
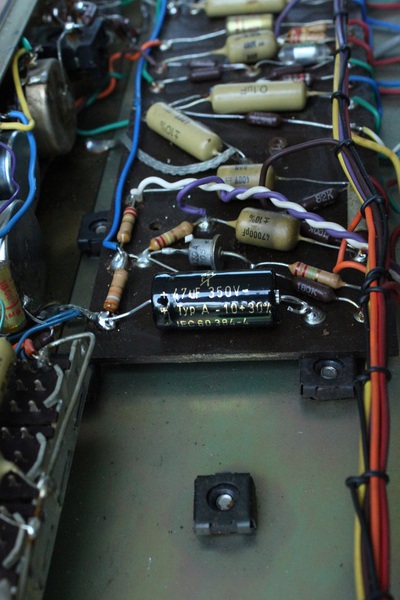
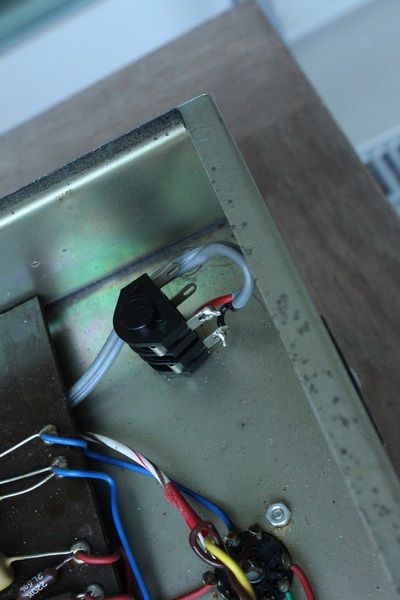
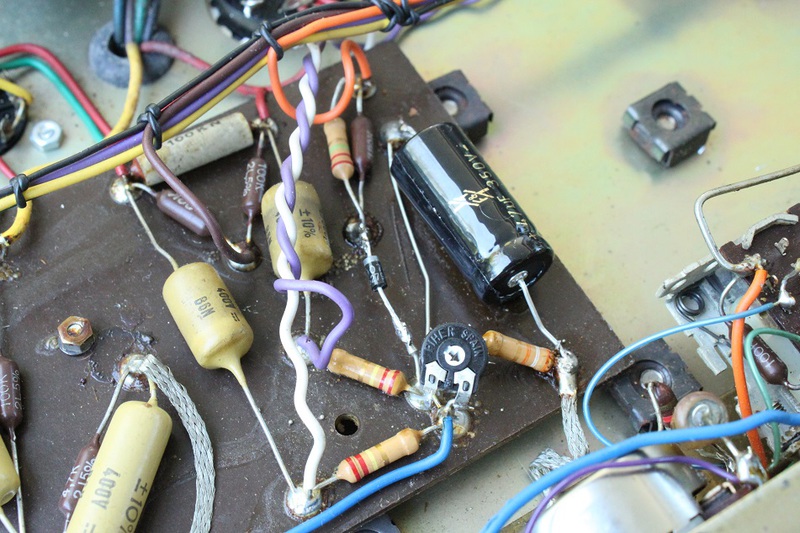
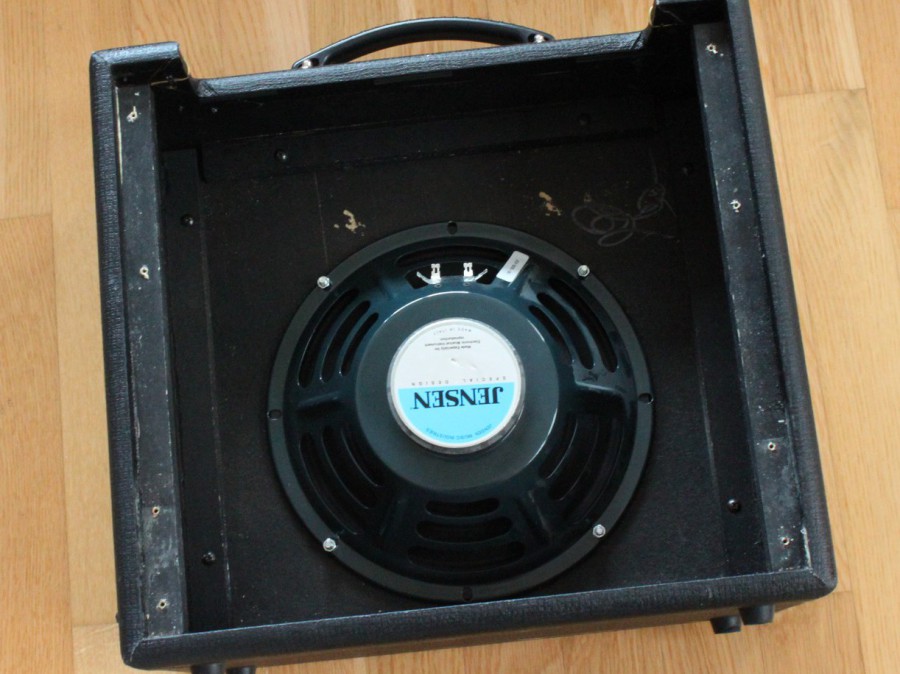
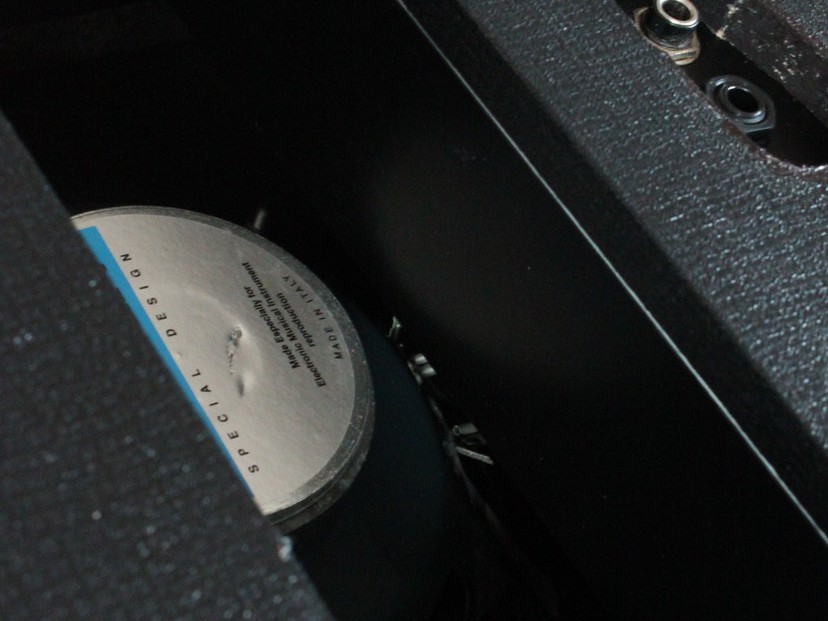
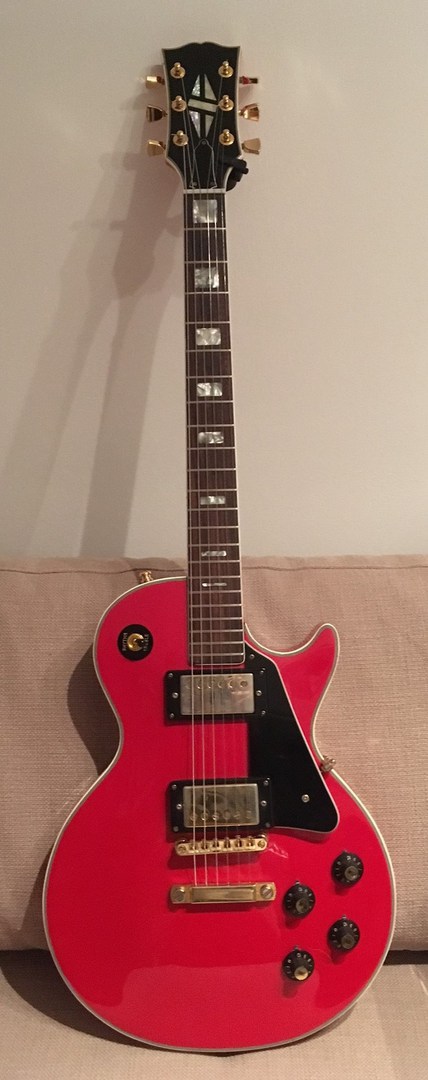
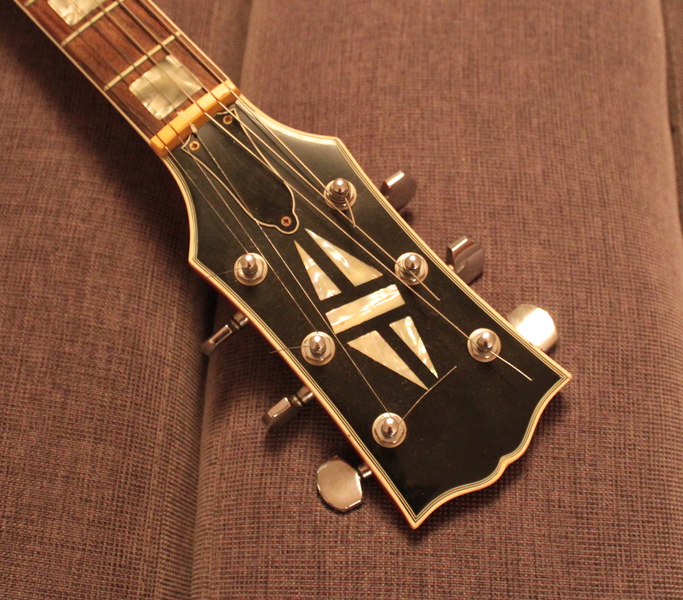
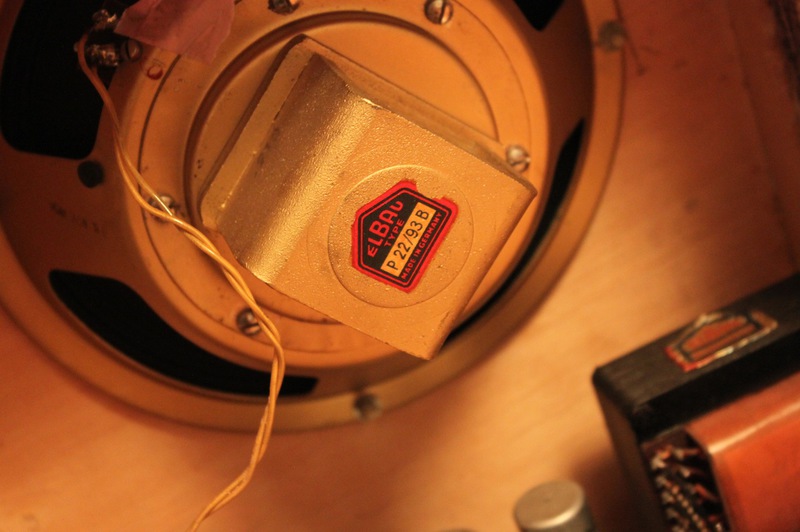
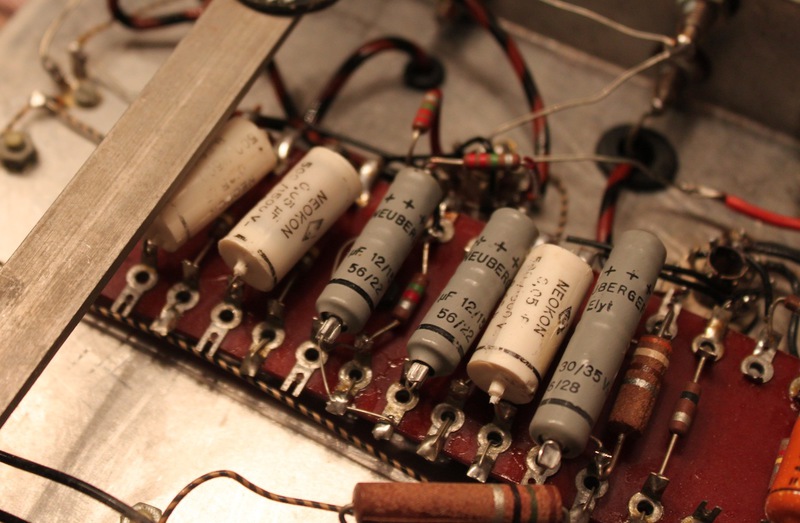
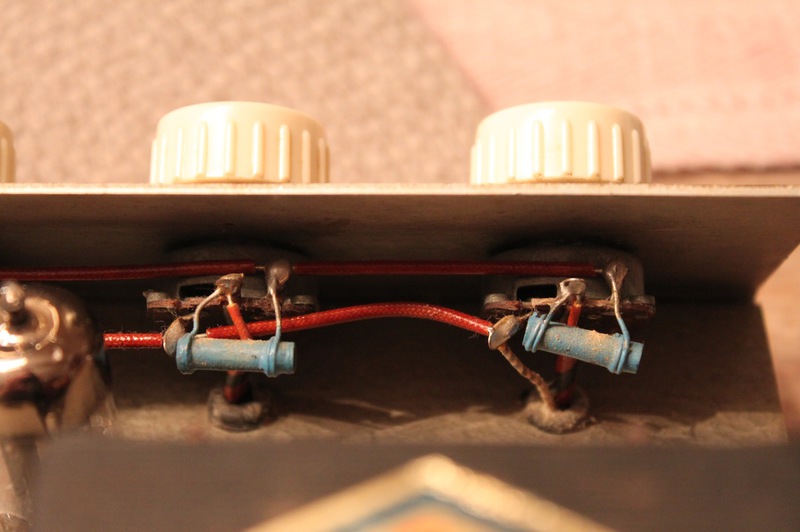
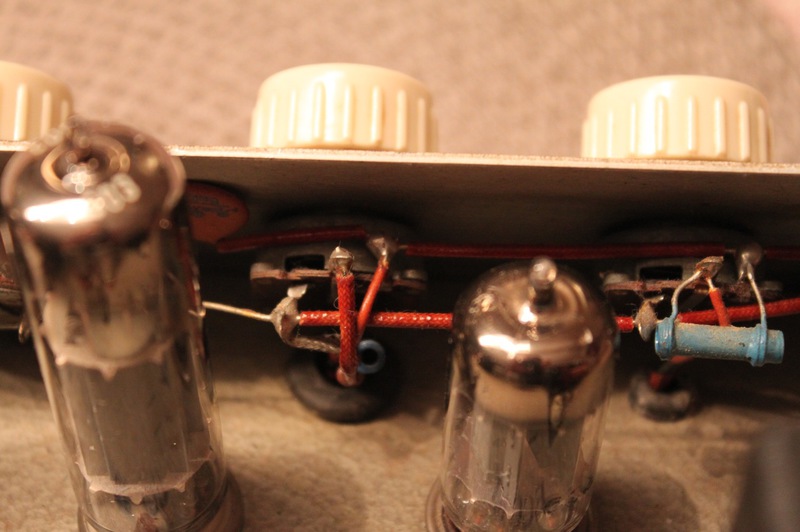
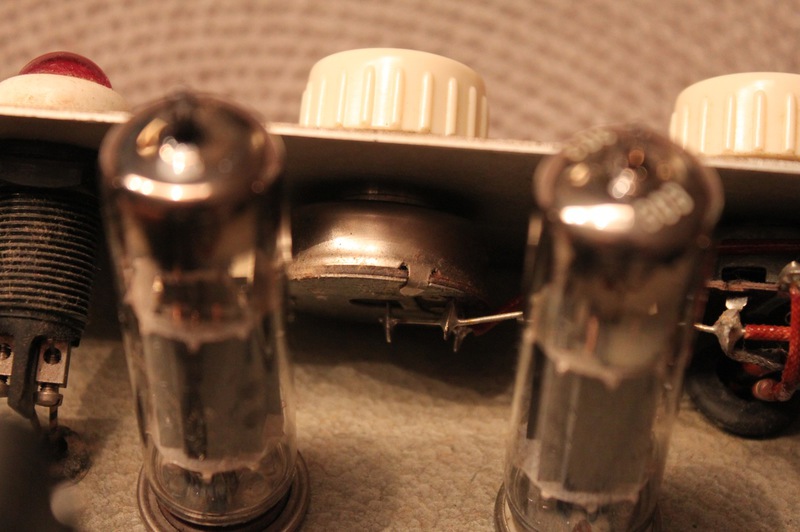
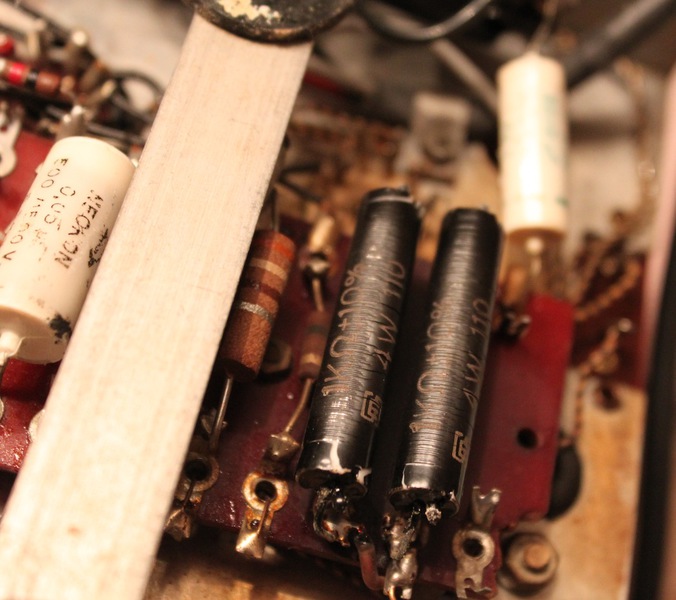
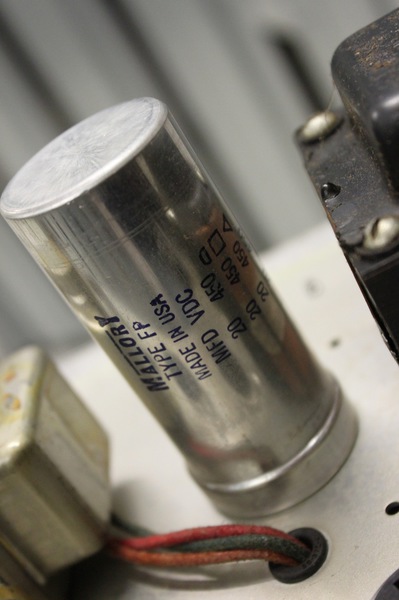
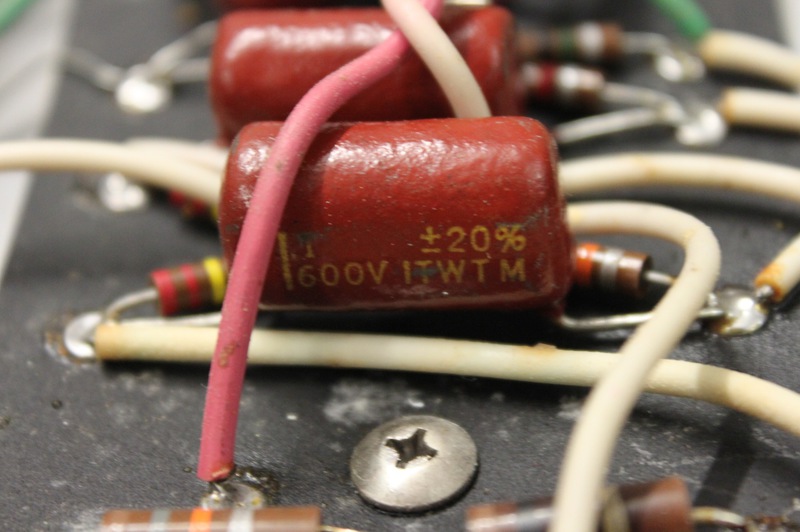
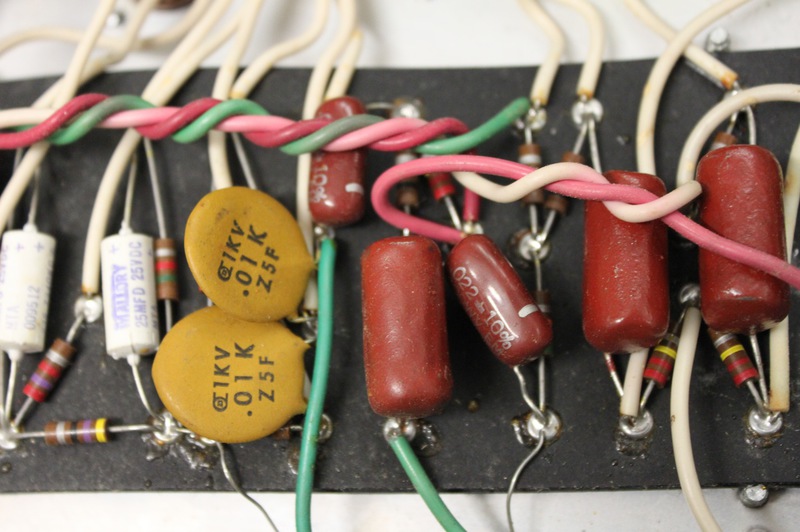
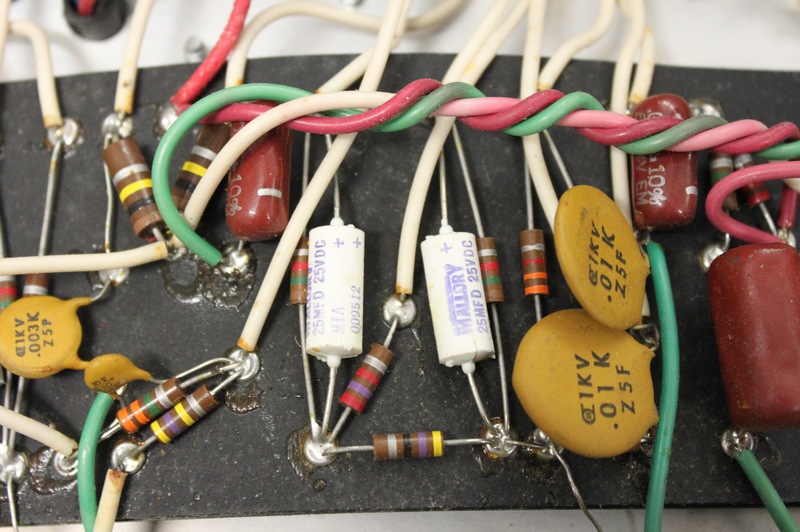
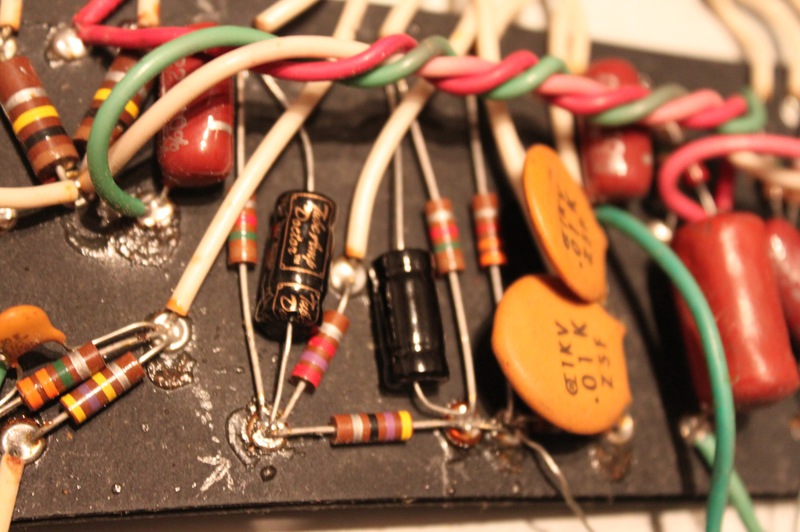
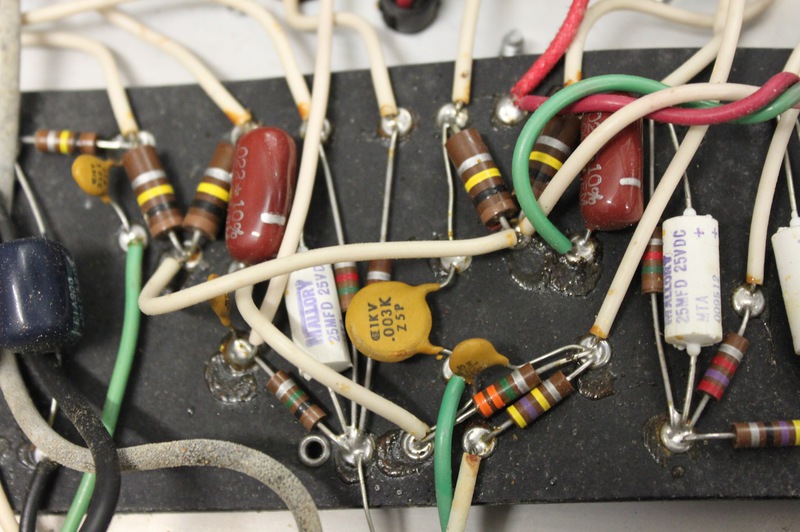
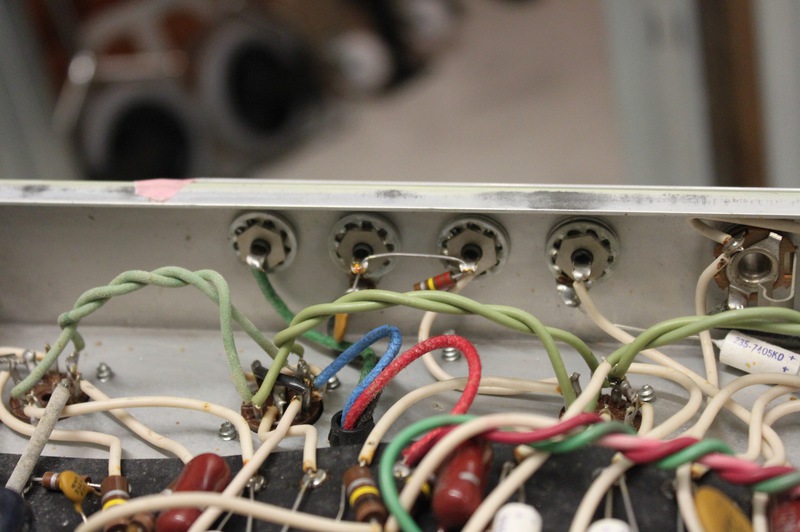
PIC Database
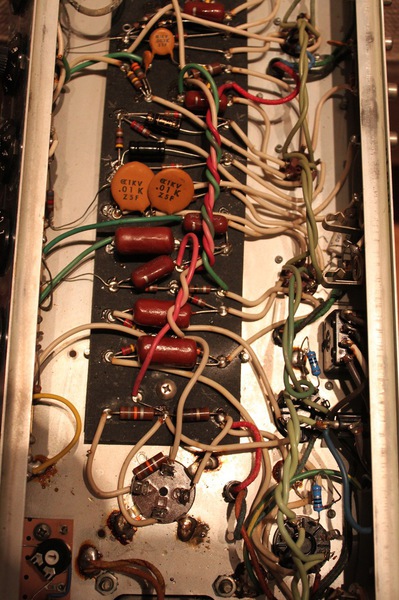
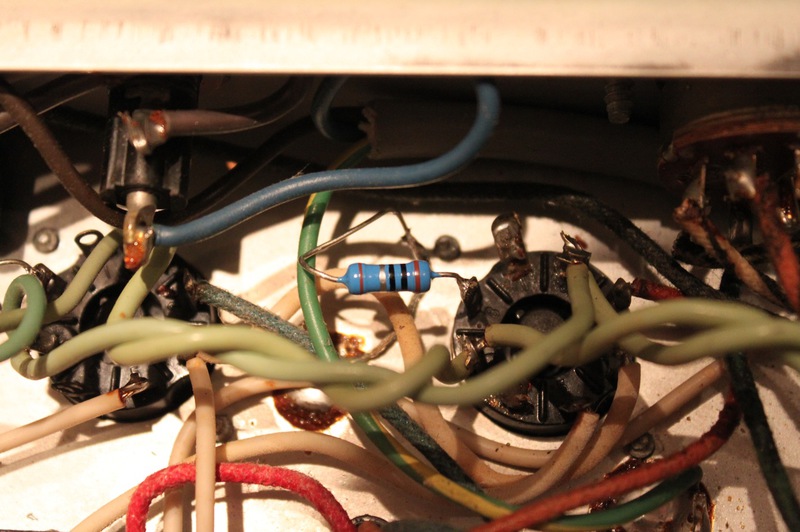
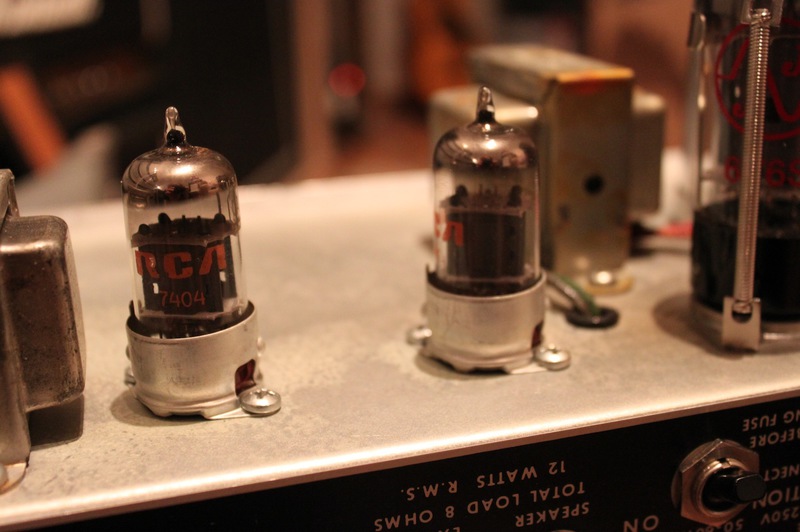
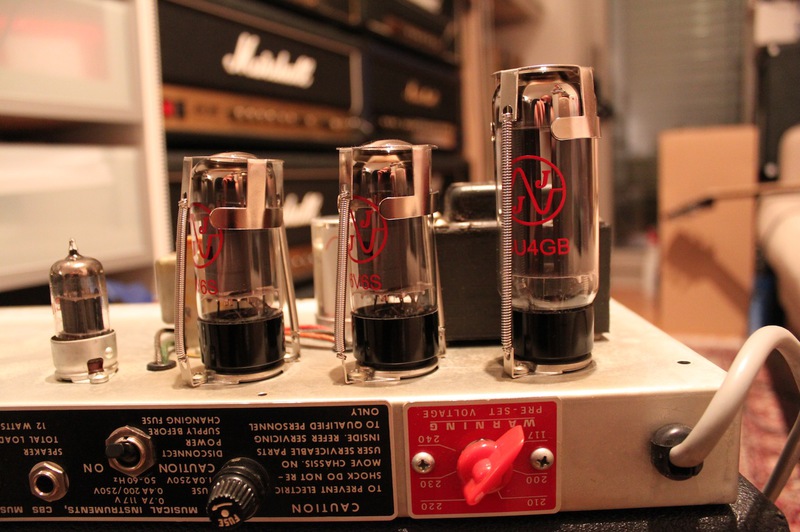
This part actually is nothing else then a collection of pics i made over the years from the inside of Effects, Amps and Guitars.
Quite often i make quick pic with my mobile as i can remember less and less :-) To offer these pics with ICs and many other parts i tagged them here to be found on google pics.... See description on every pic.... enjoy !